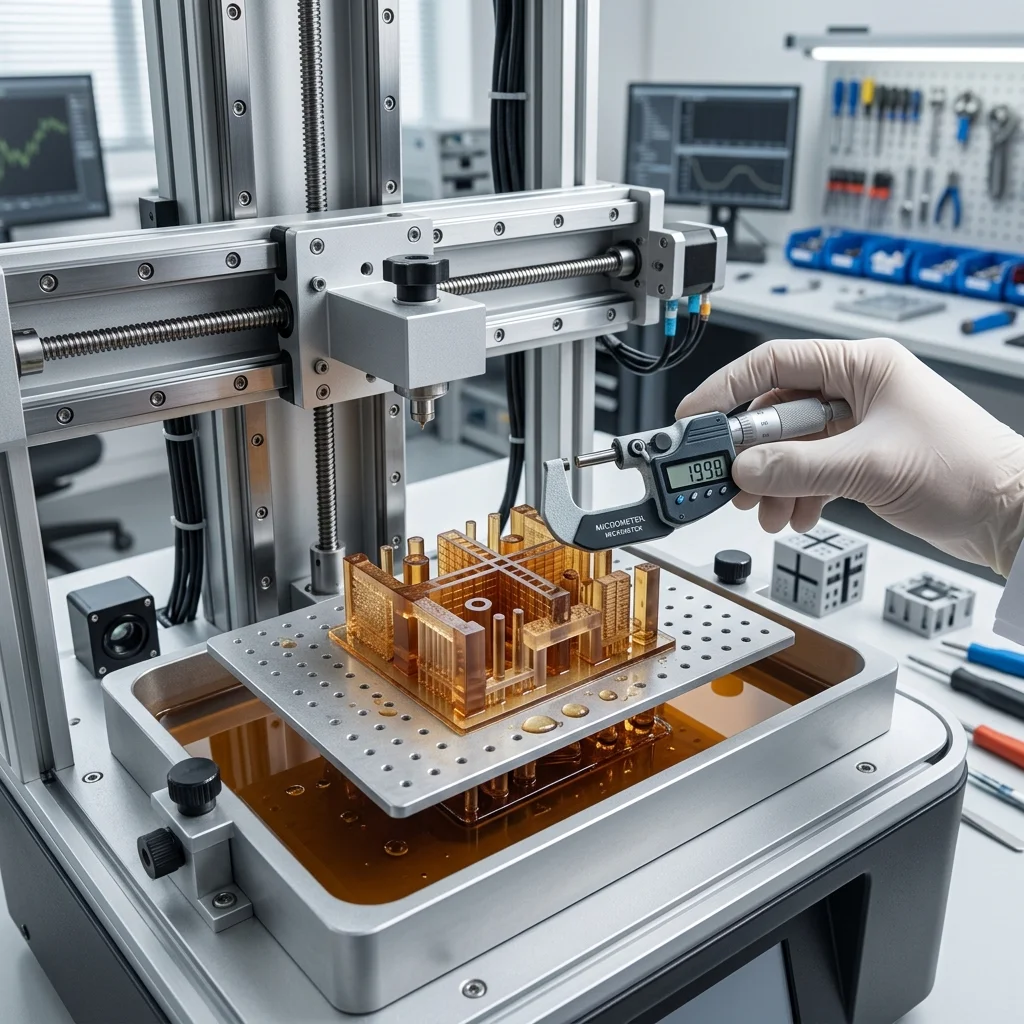
In the world of EduFacturing, moving from functional prototypes to flawless, production-ready resin prints requires more than just pressing start. VAT polymerization (whether SLA, DLP, or LCD) operates on a delicate balance of photochemistry, fluid dynamics, and mechanical precision. Even the highest-end optical systems can produce subpar results if the operating parameters are misaligned.
True mastery of a resin 3D printer goes far beyond the manufacturer's default settings. It demands an understanding of how UV photons interact with photoinitiators, how peel forces stress the newly formed layer, and how microscopic resin flow can cause dimensional inaccuracies known as blooming. In this guide, we will dissect the critical calibration steps that transform your printer from a mere machine into a high-precision manufacturing tool.
The Foundation: Absolute Z-Axis Zeroing and Build Plate Adhesion
The success of any resin print is dictated in the first few micrometers. A perfectly leveled build plate ensures uniform light distribution and consistent adhesion across the entire build volume. When leveling, the goal isn't just to make the plate parallel to the LCD screen, but to establish a true Z-zero point that accounts for the thickness of your FEP or ACF release film. For burn-in layers (the bottom layers), you typically need exposure times 5 to 8 times longer than normal layers to overcome the initial peel forces. However, excessive bottom exposure leads to 'elephant's foot': a severe dimensional expansion at the base of your models. Utilizing transition layers in your slicer bridges the gap, gradually reducing exposure from the burn-in phase to the standard phase, minimizing internal stress.
Photochemical Precision: Calibrating Normal Layer Exposure Time
Exposure time is the heartbeat of your resin printer. It determines the rate of photopolymerization. Underexposure leads to structural weakness, delamination, and lost supports. Overexposure causes light bleeding (UV scattering), which thickens fine details, closes small holes, and swells the part. To dial in the precise millisecond value, employ specialized calibration models. The XP2 Validation Matrix is excellent for quickly assessing the balance between positive and negative spaces (pegs and holes). For functional strength, especially when printing pre-supported models, the 'Cones of Calibration' test provides a pass/fail indicator that ensures your resin is cured enough to withstand the tensile stress of support detachment, without sacrificing the micro-details.
Managing Peel Forces: Lift Speed, Lift Height, and Rest Times
Every time a layer cures, it chemically bonds to the FEP film. The mechanical retraction must carefully peel the model off the film without ripping it from the supports. This is governed by your lift speed and lift distance. For larger cross-sections, a Two-Stage Motion Control (TSMC) strategy is optimal. Start with a slow initial lift speed (e.g., 40-50 mm/min) for the first 2-3 mm to gently break the vacuum seal and overcome the peel force, followed by a faster speed for the remainder of the lift. Equally critical is the 'Rest Time' or 'Light-Off Delay'. Viscous resins need time to flow back beneath the build plate and settle before the UV light turns on. Without sufficient rest time, the resin is cured while still in motion, causing 'blooming': a fuzzy, poorly resolved surface finish that ruins dimensional accuracy.
Dimensional Accuracy: Shrinkage Compensation and Post-Curing
Unlike FDM, resin printing is an exothermic chemical reaction that involves volumetric shrinkage. Most standard photopolymer resins shrink by 1% to 3% during the curing process, both in the printer and in the final post-curing chamber. To achieve engineering-grade tolerances, print dimensional calibration objects (like the Boxes of Calibration or precision cubes) and measure them with digital calipers. Use your slicer's scaling compensation (X/Y/Z Shrinkage adjustment) to offset the volumetric reduction. Furthermore, remember that the final dimensions are only locked in after thorough washing (to remove uncured surface resin) and uniform post-curing under a dedicated UV light source. Inconsistent post-curing will lead to warping over time.
The Environmental Variable: Resin Temperature and Viscosity
Photochemical reactions are highly temperature-dependent. The ideal operating envelope for most engineering and standard resins is between 25°C and 30°C. Cold resin becomes highly viscous, impeding the flow dynamics during the retraction cycle and drastically increasing peel forces, which often leads to mid-print delamination. Furthermore, low temperatures inhibit the photoinitiators, meaning the resin requires significantly longer exposure times to reach the same degree of conversion. Incorporating a dedicated enclosure heater or a resin vat heating band stabilizes the process, ensuring that your perfectly calibrated exposure times remain valid regardless of ambient workshop conditions.
Conclusion
Calibrating a VAT polymerization 3D printer is a systematic process of isolating variables. By mastering the interplay between exposure times, mechanical lift dynamics, and environmental controls, you get the most out of your hardware. Whether you are printing intricate dental models, high-strength engineering brackets, or detailed artistic miniatures, a rigorous calibration protocol is the ultimate bridge between a digital concept and a flawless physical reality. Welcome to the precision era of EduFacturing.
The full picture
This article is one page from The Big Book of 3D Printing: 704 illustrated pages covering every technology, material and fix in one reference.
Read it on Kindle →Engineer, author of The Big Book of 3D Printing and additive manufacturing expert
Updated on 11 September 2026
This article was written with AI assistance; the facts were checked against the sources on 11 September 2026.