

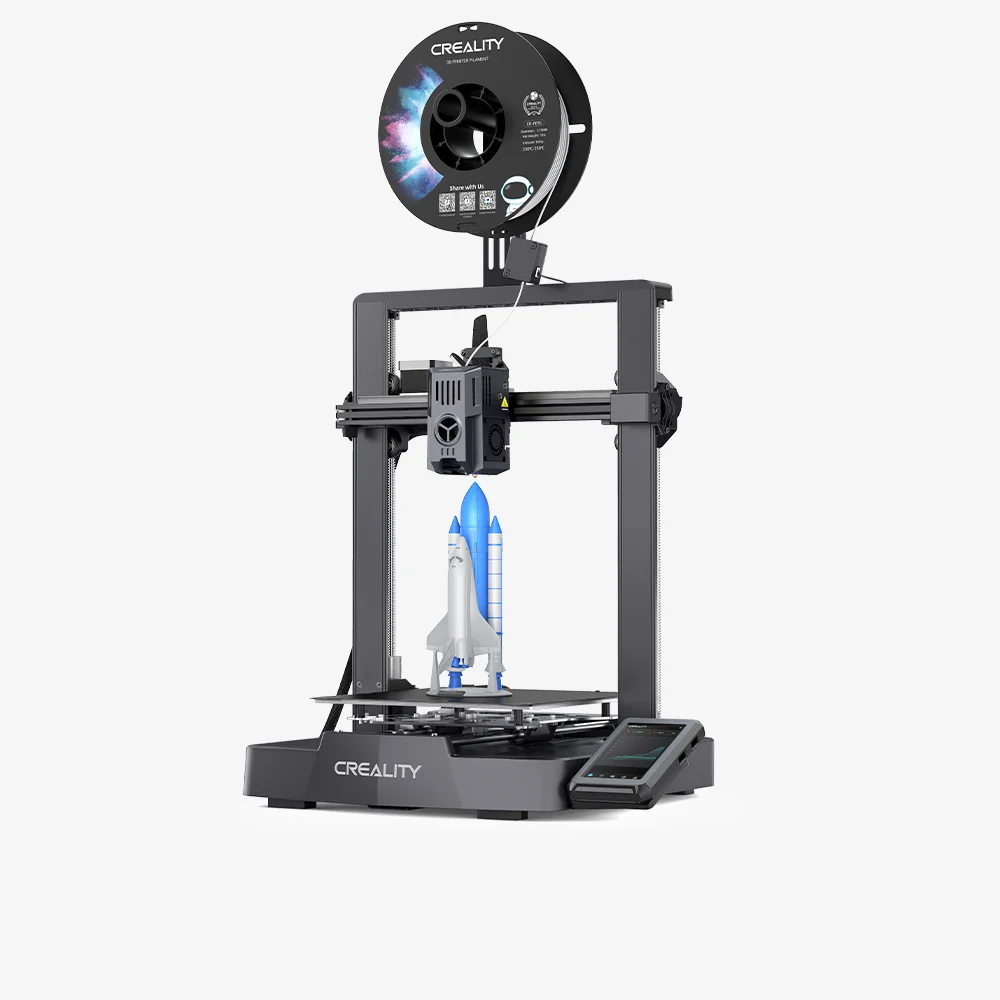
The Creality Ender-3 V3 KE is a budget open-frame CoreXZ FDM printer that brought Klipper and speeds up to 500 mm/s for under €300. With a 220×220×240 mm build volume, automatic bed leveling and Input Shaper out of the box, the V3 KE is the natural choice for beginners and enthusiasts who want to print fast, without spending a lot.
What it is
The Ender-3 V3 KE is the fifth generation of the world's best-selling home printer, but with an entirely new motion system: CoreXZ kinematics, where the print head moves simultaneously on X and Z using two independent motors. The result is less moving mass, less vibration and practically achievable 300–500 mm/s. The machine runs on Klipper: the open-source firmware used by professional machines, and includes automatic bed leveling with a 25-point mesh and built-in resonance compensation (Input Shaper). The open-frame design makes working with PLA and PETG easy, but limits access to materials sensitive to airflow. No enclosure, no monitoring camera, no multi-material system: the V3 KE is a tool for single-material fast printing at an exceptionally accessible price.
Technical specifications
| Technology | FDM (CoreXZ, open-frame) |
|---|---|
| Build volume | 220 × 220 × 240 mm |
| Maximum speed | up to 500 mm/s |
| Firmware | Klipper (with Creality OS interface) |
| Leveling | automatic: CR Touch, 25-point mesh |
| Resonance compensation | Input Shaper (built-in) |
| Class / Price | Budget · ~€280 |
Who it’s for
- Rapid Prototyping: Printing early design models to verify form, fit and ergonomics, leveraging speeds up to 500 mm/s for short iteration cycles. (Engineering and Product Design)
- Educational Projects: Creating physical models of abstract concepts for students and introducing the basics of additive manufacturing with an accessible machine. (Education and STEM)
- Functional Low-Volume Parts: Producing custom jigs, brackets and replacement parts in small batches (1–100 units) from PLA or PETG. (Manufacturing)
- Hobbyist and Creative Models: Printing cosplay props, tabletop miniatures and personalized home solutions using PLA or flexible TPU. (Entertainment and Hobby)
Calibration step by step
- Clean the PEI build plate thoroughly with isopropyl alcohol (IPA). A clean surface free of oils and dust: maximum first-layer adhesion.
- Run the automated bed leveling sequence (Auto-level) from the printer menu. The printer builds a precise 25-point topographic mesh to automatically compensate for bed unevenness.
- Fine-tune the Z-offset during the first-layer print. The extruded filament is properly squished onto the bed: no delamination (offset too high) and no elephant's foot (offset too low).
- Calibrate extruder steps (E-steps) using the M92 command and adjust the flow rate in the slicer. The printer extrudes the exact commanded volume of filament: no over-extrusion (blobs) and no under-extrusion (gaps).
- Verify the Input Shaper calibration through Klipper, or tighten the belts if ghosting is present. Mechanical resonances are compensated: ghosting and ringing artifacts are eliminated at high speeds.
Common defects and fixes
Recommended settings by material
Pick a material to see the recommended temperatures (empirical ranges from 561 OrcaSlicer/Bambu profiles) plus machine-specific tips:
Conclusion
The Ender-3 V3 KE proves that a budget printer can print fast and reliably. Klipper, Input Shaper and automatic bed leveling out of the box make it easier to set up than its predecessors, and the CoreXZ kinematics deliver real 300+ mm/s without overwhelming vibration. The limitations are clear: the open-frame design closes the door on ABS and engineering polymers, there is no monitoring camera and no multi-material system. For PLA, PETG and TPU, however, the V3 KE is hard to beat in its price class.
The full picture
This article is one page from The Big Book of 3D Printing: 704 illustrated pages covering every technology, material and fix in one reference.
Read it on Kindle →Engineer, author of The Big Book of 3D Printing and additive manufacturing expert