

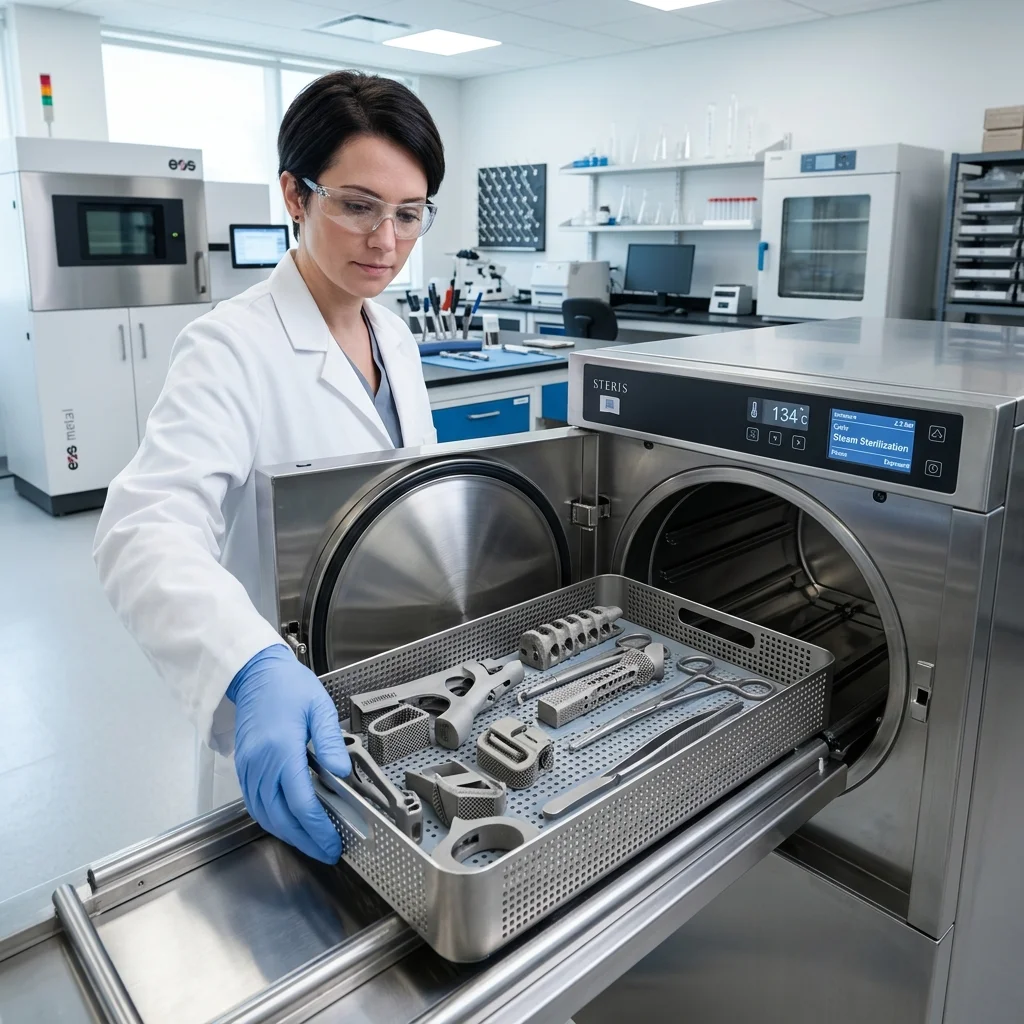
The integration of 3D printing in the medical field has revolutionized how surgical tools and patient-specific guides are manufactured. By allowing for rapid prototyping and point-of-care production, hospitals can create custom instruments tailored to individual procedures. However, bringing these innovations from the printer into the sterile environment of an operating room introduces a unique set of challenges.
Sterilization is a non-negotiable prerequisite for any medical device entering the surgical field. Unlike traditional stainless steel instruments, 3D-printed polymers possess varying melting points, chemical resistances, and structural properties. Understanding the intricate dance between high-performance materials like PEEK or ULTEM and rigorous sterilization techniques (such as autoclaving, ethylene oxide, or hydrogen peroxide gas plasma) is essential for ensuring absolute patient safety and device integrity.
The Unique Challenges of 3D-Printed Geometries
Unlike conventionally manufactured surgical tools, which are typically machined from solid blocks of metal or injection-molded, 3D-printed parts often feature complex, porous, or layer-by-layer structures. The Fused Deposition Modeling (FDM) process, for instance, can leave microscopic voids between layer lines. These minute crevices can trap biological contaminants, making thorough cleaning and sterilization a complex task. Furthermore, hollow infill structures common in 3D printing can compromise the sterilization process if sterilants cannot penetrate them effectively. To combat this, medical devices must often be printed with 100% solid infill or designed to avoid blind holes, ensuring that the chosen sterilization medium can fully envelop and penetrate the device without leaving any unsterilized pockets.
High-Performance Biocompatible Polymers: PEEK and ULTEM
Material selection is the foundation of a sterilizable 3D-printed surgical tool. Standard consumer plastics like PLA or standard ABS will warp, melt, or severely degrade under the high heat and pressure of hospital autoclaves. Instead, the medical industry relies on high-performance thermoplastics.
**PEEK (Polyetheretherketone)** is renowned for its exceptional mechanical strength, chemical resistance, and high melting point, making it highly suitable for steam autoclaving without losing dimensional accuracy. **ULTEM™ (Polyetherimide)**, specifically grades like ULTEM 1010 and 9085, is another staple in medical additive manufacturing. These biocompatible resins (frequently meeting ISO 10993 and USP Class VI standards) boast excellent thermal stability. Because they can endure repeated sterilization cycles, they are ideal for manufacturing robust, reusable surgical guides and instruments.
Proven Sterilization Methods for Additive Manufacturing
Choosing the right sterilization protocol depends entirely on the polymer used.
**Autoclaving (Steam Sterilization):** This is the most common and accessible method in hospitals. It uses high-pressure steam at temperatures typically around 121°C to 134°C. While it will destroy lower-grade plastics, materials like PEEK and ULTEM thrive here, maintaining their structural integrity.
**Ethylene Oxide (EtO):** A low-temperature gas sterilization method perfect for heat-sensitive polymers. It penetrates complex geometries exceptionally well but requires a lengthy aeration period to remove toxic residual gases.
**Vaporized Hydrogen Peroxide (VHP / Gas Plasma):** Another low-temperature alternative that is fast and leaves no toxic residue. It is highly preferred for delicate geometries that might warp under the thermal stress of an autoclave.
**Gamma Irradiation:** Often used for bulk, single-use items, this method relies on ionizing radiation. While effective, repeated exposure can lead to the embrittlement and discoloration of certain polymers over time.
Design and Post-Processing for Sterility
A successful sterilization cycle begins in the CAD software. Engineers must design surgical tools with smooth transitions, avoiding sharp internal corners where bio-burden can accumulate. After printing, post-processing is equally critical. Support structures must be meticulously removed, and surfaces often need to be sanded, tumbled, or chemically smoothed to seal microscopic layer gaps. A smoother surface drastically reduces the risk of harboring bacteria and allows sterilizing agents (whether steam, gas, or plasma) to act uniformly across the tool's exterior. Rigorous validation testing is always required to ensure that the combination of design, material, and sterilization method meets strict regulatory healthcare standards.
Conclusion
As 3D printing technology continues to advance, the line between traditional manufacturing and point-of-care additive manufacturing is blurring. By leveraging high-performance polymers like PEEK and ULTEM alongside validated sterilization methods such as autoclaving and VHP, medical professionals can confidently deploy custom surgical tools. Understanding these material-sterilization dynamics ensures that the rapid innovation of 3D printing never compromises the uncompromising standards of patient safety in the operating room.
The full picture
This article is one page from The Big Book of 3D Printing: 704 illustrated pages covering every technology, material and fix in one reference.
Read it on Kindle →Engineer, author of The Big Book of 3D Printing and additive manufacturing expert