

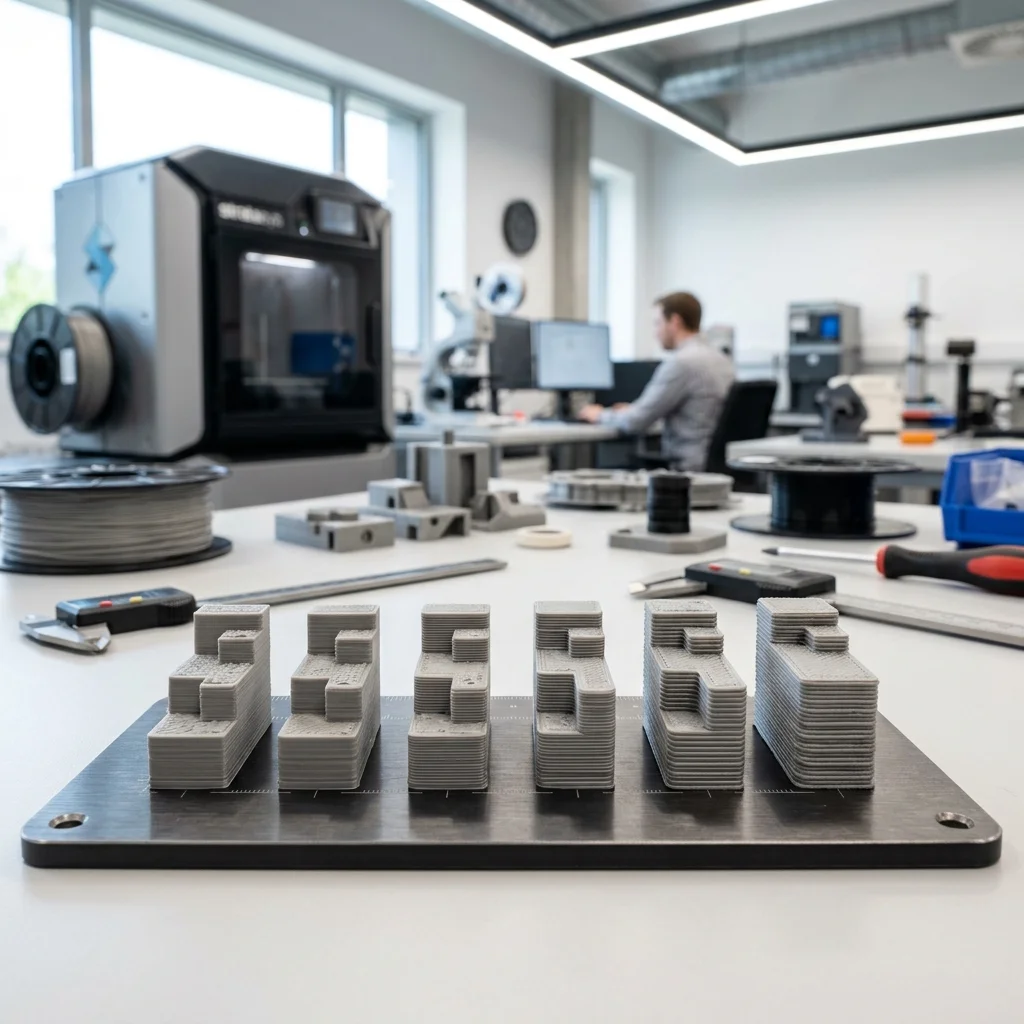
When it comes to print quality in 3D printing, the first parameter every engineer adjusts is the Layer Height. But selecting the perfect value is a far more complex process than simply sliding the setting to a smaller number for 'higher quality'. Layer height is the fundamental metric of the Z-axis, determining not only the visual resolution of your part but also its mechanical strength, production time, and even internal thermal stresses.
In this guide, we will look beneath the hood of your slicer and explore the mechanics of your hardware. We'll understand why stepper motors dictate their own rules, how nozzle geometry restricts our boundaries, and why finer layers do not always equate to a superior functional outcome.
Magic Numbers and Hardware Precision
Most desktop 3D printers utilize NEMA 17 stepper motors (1.8 degrees per step, or 200 steps per revolution) combined with a T8 lead screw that has an 8mm pitch. This translates mathematically to exactly 0.04 mm of Z-axis travel for every full mechanical step of the motor. While modern drivers support microstepping (holding the motor between two physical steps via electromagnetic balancing) these intermediate positions lack the holding torque of full steps.
This births the concept of 'magic numbers'. To avoid micro-variations along the Z-axis (known as Z-banding), you should select layer heights that are multiples of 0.04 mm. Instead of 0.15 mm, use 0.16 mm. Instead of 0.25 mm, dial in 0.24 mm. These values ensure the motor rests at a stable, mechanical position at the start of every new layer, resulting in noticeably smoother vertical surfaces.
The 80% Rule and Extrusion Hydrodynamics
One of the most common mistakes is attempting to print layers that are too thick for the installed nozzle. The golden engineering rule is simple: your layer height should never exceed 80% of your nozzle diameter. For a standard 0.4 mm nozzle, the absolute physical maximum is 0.32 mm.
Why does this constraint exist? The FDM printing process relies on the nozzle not just depositing material, but physically 'squishing' it onto the previous layer. If the layer height is too close to the nozzle diameter, the extruded filament remains perfectly cylindrical, offering minimal contact area with the layer below. By compressing it (keeping height under 80%), the cross-section becomes oval, the contact area increases drastically, and the part gains the necessary layer-to-layer cohesion.
The Strength Paradox: Thin vs. Thick
Intuition often suggests that finer layers (e.g., 0.12 mm) create a denser and therefore stronger part. However, mechanical tensile strength tests consistently reveal a different truth. Parts printed with thicker layers (0.20 mm to 0.28 mm) are frequently much stronger.
The reason lies in the number of thermal interfaces. Every bond between two layers is a potential point of failure. In a 10 cm tall part printed at 0.10 mm layers, you have 1,000 interfaces. At 0.20 mm layers, you only have 500. Furthermore, thicker extrusions retain more thermal mass, allowing for better remelting and polymer chain entanglement between the current and previous layers.
Adaptive Layer Height: The Intelligent Compromise
In the era of intelligent slicers, we are no longer forced to make a static compromise between time and quality. The Adaptive Layer Height feature (available in PrusaSlicer, Cura, and others) analyzes the topology of your 3D model in real time.
For vertical walls without intricate details, the software automatically increases the layer height to the maximum safe limit (e.g., 0.28 mm) to save time. When the algorithm detects sloped surfaces (where the stair-stepping effect is prominent) or fine Z-axis details, it dynamically lowers the height down to your minimum (e.g., 0.08 mm). This approach allows you to preserve the flawless visual appearance of curves while reducing overall print times by 20 to 40 percent.
Conclusion
Choosing your layer height isn't just about tweaking a quality setting: it's an architectural decision. By adhering to 'magic numbers' for mechanical precision, respecting the 80% rule for optimal extrusion, and understanding the thermodynamics behind part strength, you transition from guessing to engineering. At EduFacturing, we believe true mastery is achieved when software configurations work in perfect harmony with hardware physics.
The full picture
This article is one page from The Big Book of 3D Printing: 704 illustrated pages covering every technology, material and fix in one reference.
Read it on Kindle →Engineer, author of The Big Book of 3D Printing and additive manufacturing expert