

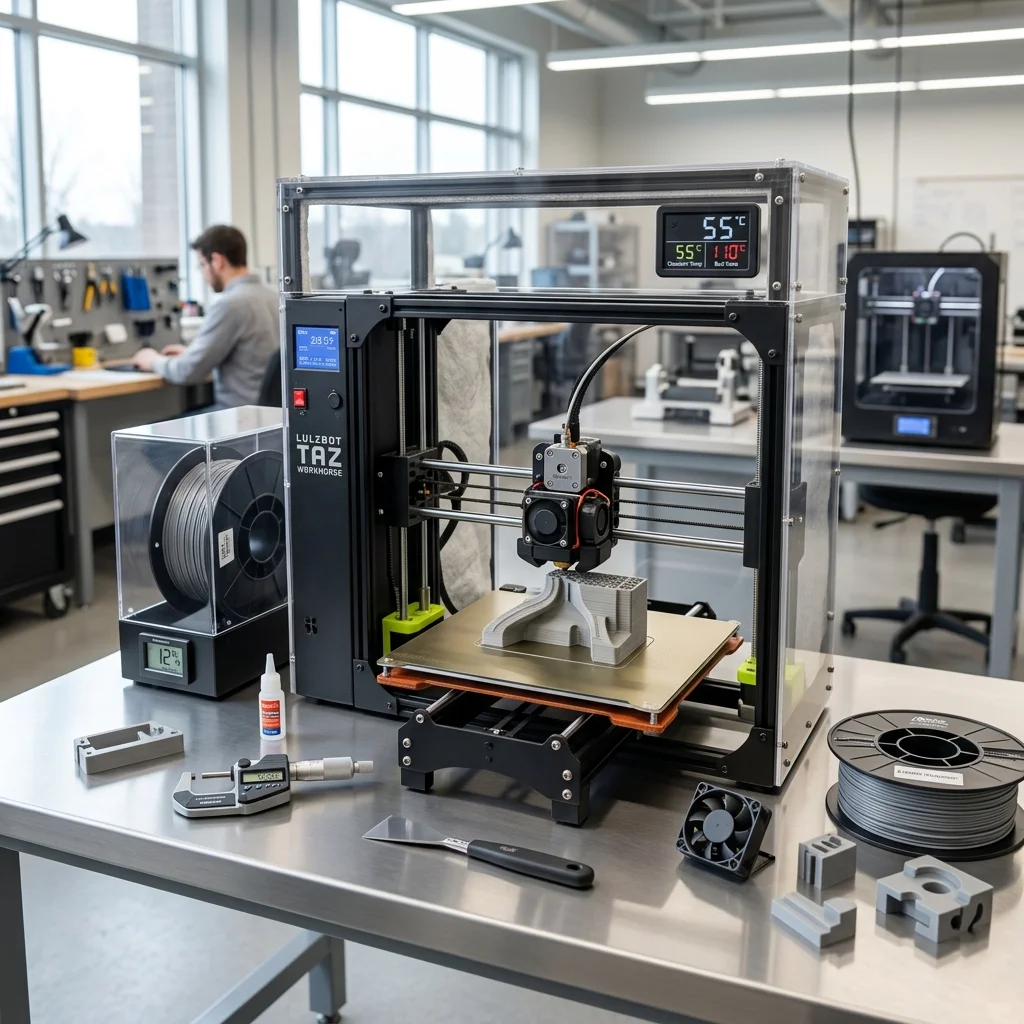
Every 3D printing enthusiast has experienced that moment of heartbreak: after hours of printing what looks like a flawless part, you notice the corners curling up and peeling off the build plate, warping the entire geometry. This phenomenon is the absolute bane of printing with ABS (Acrylonitrile Butadiene Styrene). However, the superb mechanical properties of ABS (its high impact resistance, ease of post-processing, and excellent temperature tolerance) make it an indispensable material for engineering and functional prototypes.
The good news is that warping is not an insurmountable obstacle; it is simply a physics problem that requires the right engineering solution. In this guide, we will dive deep into the mechanics of thermal contraction and equip you with expert strategies to conquer ABS warping and achieve perfectly flat prints every single time.
1. The Physics Behind ABS Warping
To solve the problem, we must first understand it. ABS is an amorphous polymer with a relatively high coefficient of thermal expansion. When the material is extruded at temperatures around 240-260°C and then cools down to room temperature, the polymer chains contract significantly. Because the layers cool at different rates (the higher layers cool and shrink faster than those close to the heated bed), massive internal stress is generated. This stress pulls the lower layers upward, inevitably causing the corners to detach from the build surface.
The key to preventing this phenomenon is managing the Glass Transition Temperature (Tg), which for ABS is approximately 105°C. The goal is to allow the part to cool as slowly and uniformly as possible around this point to minimize the accumulation of thermal stress.
2. Controlling the Thermal Environment: The Power of an Enclosure
The single most effective method for combating ABS warping is using a 3D printer with an enclosure. A closed system traps the heat radiating from the build plate, creating a microclimate with a stable ambient temperature (ideally between 45°C and 60°C). This drastically reduces the temperature gradient between the newly extruded polymer and the surrounding air, allowing the layers to bond strongly and cool synchronously.
If your printer lacks an active chamber heater, a highly recommended trick is to preheat your bed to 110°C for at least 30 minutes before starting the print. This "heat soaks" the chamber and stabilizes the environment, entirely eliminating dangerous cold air drafts that trigger localized warping.
3. Maximizing Bed Adhesion
If the first layer isn't flawlessly bonded to the bed, all other efforts will be in vain. Your heated bed temperature should be set between 100°C and 110°C. The build surface itself is also critical: PEI (Polyetherimide) sheets offer exceptional adhesion for ABS when kept meticulously clean.
Always wipe down the bed with Isopropyl Alcohol (IPA) before printing to remove any oils from fingerprints. For stubborn geometries, utilize specialized 3D printing adhesives like Magigoo or Dimafix. In extreme cases, veterans resort to "ABS Juice": a mixture of acetone and scrap ABS applied to a glass bed. This creates a bond so incredibly strong that you are sometimes more likely to chip the glass than manually peel off the part!
4. Slicer Optimizations for Stress Reduction
Your slicer software settings are just as vital as your hardware setup. Start by completely disabling the part cooling fan for the first 3 to 5 layers. For the remainder of the print, keep the fan speed at a bare minimum (0-30%), turning it up slightly only if you are printing small details, extreme overhangs, or bridges.
Always use the "Brim" feature: an extended outline of material attached to the base of your model, usually 5 to 10 mm wide. It acts as a sacrificial anchor, increasing the surface area in contact with the bed to fight curling forces. For sharp corners, you can also manually add "anti-warping tabs" or "mouse ears" that are easily trimmed post-print. Additionally, slow down your first layer print speed to under 20 mm/s to guarantee perfect extrusion and maximum surface contact.
5. The Hidden Variable: Filament Moisture
Though often overlooked, ABS is a hygroscopic material, meaning it absorbs moisture from the ambient air. When "wet" filament passes through the hotend, the trapped water instantly boils into steam, creating micro-explosions. This not only ruins the surface finish of the part but severely degrades layer adhesion, making the print exponentially more prone to warping and delamination.
Invest in a quality filament dryer and dry your ABS at 65-75°C for at least 4 to 6 hours before use. Dry material extrudes consistently and delivers the structural integrity that made you choose ABS in the first place.
Conclusion
Combating ABS warping isn't dark magic; it's applied physics. By combining a controlled thermal environment, flawless bed preparation, optimized slicer settings, and thoroughly dried filament, you will effectively neutralize the warping effect. These expert practices will get the most out of ABS, enabling you to manufacture exceptionally strong and precise engineering components with total confidence.
The full picture
This article is one page from The Big Book of 3D Printing: 704 illustrated pages covering every technology, material and fix in one reference.
Read it on Kindle →Engineer, author of The Big Book of 3D Printing and additive manufacturing expert