

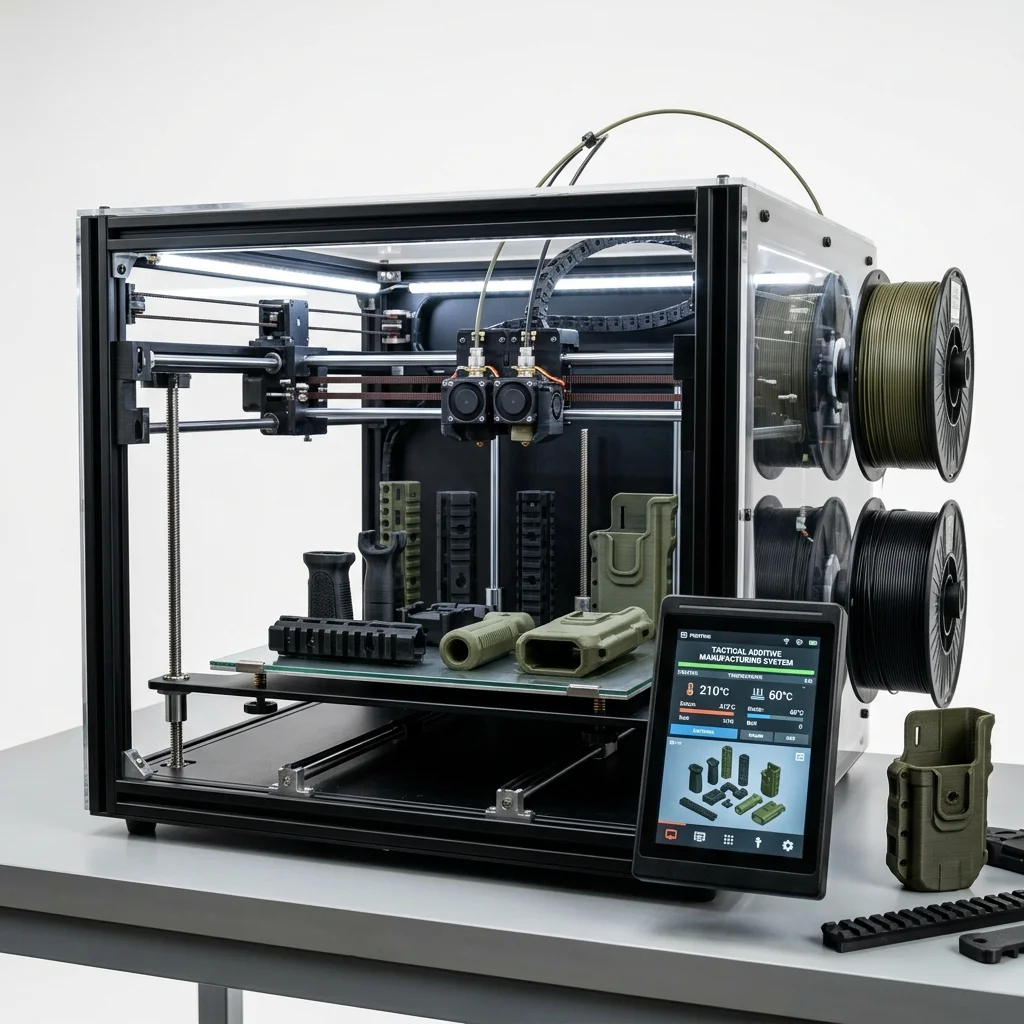
Producing specialized accessories for military equipment via 3D printing provides flexibility and customization. From flashlight mounts to communication system adapters, additive manufacturing solves specific field problems quickly and efficiently.
Typical Requirements
Military accessories must be lightweight, durable, weather-resistant, and low-profile to avoid interfering with primary gear. A matte (non-reflective) finish is often required, along with compatibility for standardized mounting systems like MOLLE, Picatinny, or M-LOK.
Recommended Technologies and Printers
For batch production of accessories, SLS (sls-2) and MJF (mjf-1, mjf-2) offer the best combination of strength, surface finish, and throughput. For high-strength adapters, CFF (cff-1, cff-2) is recommended, while FDM printers (1, 3, fdm-2) are suited for quick, on-site one-offs. Specialized metal mounts use SLM (slm-1, slm-2).
Recommended Materials
Materials for accessories focus on the balance between weight and strength:
- PA12 (PA12-1, PA12-2) for tough, lightweight, and impact-resistant clips and fasteners.
- Carbon-reinforced filaments (CF-1, CF-2) for increased rigidity.
- ABS (ABS-1, ABS-2) for basic mounting elements.
- Polyurethane (PU-1, PU-2) for seals and protective caps.
- Aluminum (Al-1) and Titanium (Ti-1) for critical load-bearing components.
Process and Timeline
The accessory manufacturing process is highly adaptable based on urgency:
- Step 1: Identify the need for a custom accessory (e.g., a new radio adapter).
- Step 2: Rapid CAD modeling and optimization for support-free printing (if possible).
- Step 3: Batch mass production via SLS/MJF technology.
- Step 4: Cleaning, painting (if a matte finish is required), and inspection.
- Step 5: Distribution and mounting onto the equipment.
Pros and Cons
3D printed accessories are changing how soldiers customize their gear:
- Pros: Ability to create unique solutions for specific missions.
- Pros: Extremely lightweight through topological optimization.
- Pros: On-site manufacturing (at military bases) when needed.
- Cons: Higher per-unit cost in mass production compared to injection molding.
- Cons: FDM parts may exhibit weaker Z-axis strength, requiring proper print orientation.
Cost Breakdown
3D printing is cost-effective for small to medium batches. An example for a batch of 50 tactical helmet adapters (MJF technology):
- File preparation: 150 BGN
- Machine time and material (PA12): 800 BGN
- Post-processing (sandblasting and dyeing): 200 BGN
- Total: 1150 BGN
Real-World Examples & Common Challenges
Armed forces use 3D printed accessories to adapt commercial drones for military needs, create specialized holsters, and protective covers for optics. A key challenge is ensuring long-term UV resistance for outdoor use, which often necessitates additional coatings.
Frequently Asked Questions (FAQ)
3D Printing Military Equipment Accessories Calculator
Interactive optimization calculator.
The full picture
This article is one page from The Big Book of 3D Printing: 704 illustrated pages covering every technology, material and fix in one reference.
Read it on Kindle →Engineer, author of The Big Book of 3D Printing and additive manufacturing expert