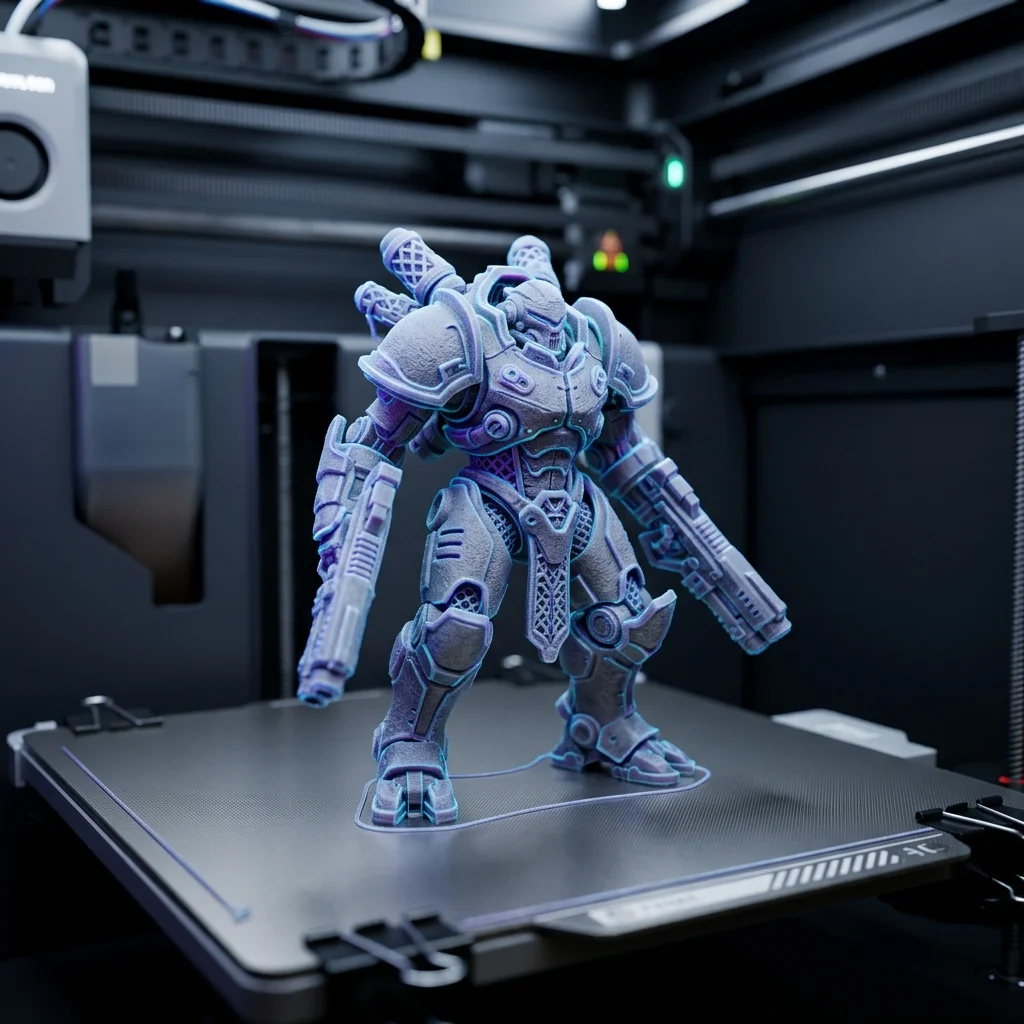
Achieving razor‑sharp features and flawless surface finish requires more than a good printer; it demands a meticulous slicer setup. This article dives deep into the parameters that separate hobbyist prints from production‑grade components, explores cutting‑edge uses in medicine, robotics and aerospace, and quantifies the financial impact for manufacturers looking to scale precision printing.
Understanding Layer Height and Print Speed
Layer height is the primary driver of visual fidelity. A 0.05 mm layer can reproduce micron‑scale textures, but it also multiplies print time. Balancing this with print speed involves adjusting acceleration, jerk, and extrusion multiplier. For SLA, XY resolution and laser spot size replace layer height, yet the principle remains: finer slices demand slower, more controlled motion to avoid ringing and over‑extrusion.
Advanced Infill Strategies for Detail
Infill geometry influences not only strength but also internal surface detail. Gyroid infill at 10‑15 % provides isotropic rigidity while allowing the slicer to maintain consistent flow, reducing artifacts in thin walls. Variable density infill (denser near functional features and sparse elsewhere) optimizes material use without compromising the high‑resolution exterior required for aerospace brackets or surgical guides.
Optimizing Slicer Settings
Fine‑tuning retraction, coasting, and temperature ramps eliminates oozing that would otherwise blur fine details. Enable linear advance to synchronize extrusion with acceleration, and use adaptive layer height to allocate thinner layers only where curvature changes sharply. Pros/Cons:
- Pros: Superior surface quality, reduced post‑processing, higher part accuracy.
- Cons: Longer print times, increased wear on mechanical components, higher energy consumption.
Business ROI Analysis
Investing in high‑detail slicer optimization translates directly into market advantage. Premium medical models command 30‑40 % higher price points, while aerospace suppliers can reduce part count by consolidating assemblies. Cost Breakdown: Software licensing $300, Training workshops $200, Additional filament $150, Labor for test prints $250. Total:
Implementation Workflow
Step 1: Audit current slicer profiles and benchmark against a 0.05 mm test cube. Step 2: Introduce incremental changes, first layer height, then retraction, followed by advanced infill. Step 3: Validate each iteration with dimensional metrology and surface roughness (Ra < 2 µm). Step 4: Document the final profile and train operators. Step 5: Track key performance indicators (print success rate, material waste, and order fulfillment speed) to quantify ROI over a 6‑month period.
Frequently Asked Questions (FAQ)
Mastering Slicer Settings For Ultra‑High Detail 3D Prints Calculator
Interactive optimization calculator.
The full picture
This article is one page from The Big Book of 3D Printing: 704 illustrated pages covering every technology, material and fix in one reference.
Read it on Kindle →Engineer, author of The Big Book of 3D Printing and additive manufacturing expert
Updated on 11 September 2026
This article was written with AI assistance; the facts were checked against the sources on 11 September 2026.