

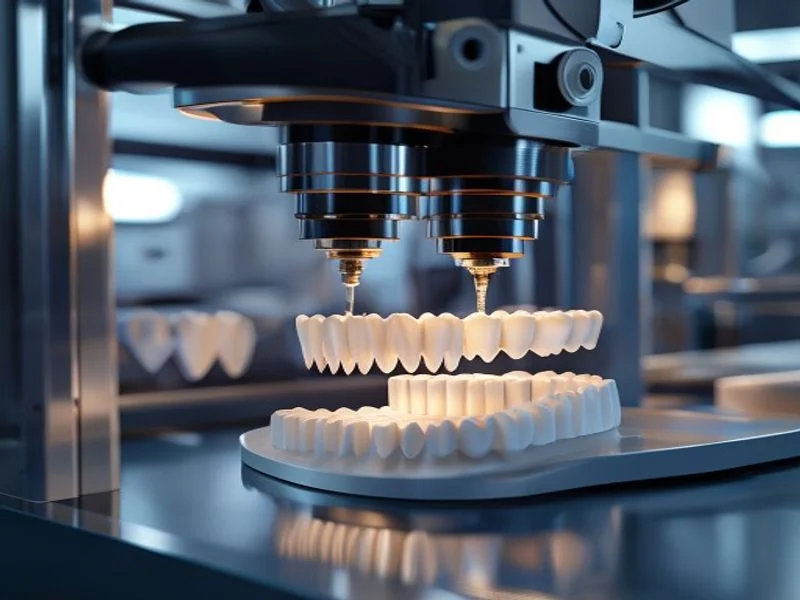
3D printing has revolutionized the dental industry, enabling the fast and accurate creation of spare parts. This process ensures high precision and a perfect fit.
intro
Requirements and Technologies
Key requirements include biocompatibility, high resolution, and durability. SLA and DLP technologies are highly recommended due to their ability to print fine details.
Pros and Cons
- Pros:
- Exceptional precision
- Rapid on-site production
- Customization for every patient
- Cons:
- High initial investment
- Requires specialized training
Production Process
- Step 1: 3D scanning of the oral cavity or model.
- Step 2: CAD modeling of the spare part.
- Step 3: Print preparation (slicing).
- Step 4: 3D printing with high-resolution resin.
- Step 5: Post-processing (washing and UV curing).
Cost Breakdown
- Equipment: 4000
- Materials: 1000
- Software: 500
- Total: 5500
Frequently Asked Questions (FAQ)
Q:
How long does printing take?
A:
Typically between 1 and 4 hours, depending on size and technology.
Q:
Are the materials safe?
A:
Yes, certified Class I and IIa biocompatible resins are used.
Q:
Is post-processing necessary?
A:
Absolutely. Washing in isopropyl alcohol and UV curing are mandatory to achieve final material properties.
Interactive Analyzer for 3D Printing Of Dental Spare Parts
Select a profile to view detailed analysis.
Strength / Durability
60%
Print Speed
72%
The full picture
This article is one page from The Big Book of 3D Printing: 704 illustrated pages covering every technology, material and fix in one reference.
Read it on Kindle →Engineer, author of The Big Book of 3D Printing and additive manufacturing expert