

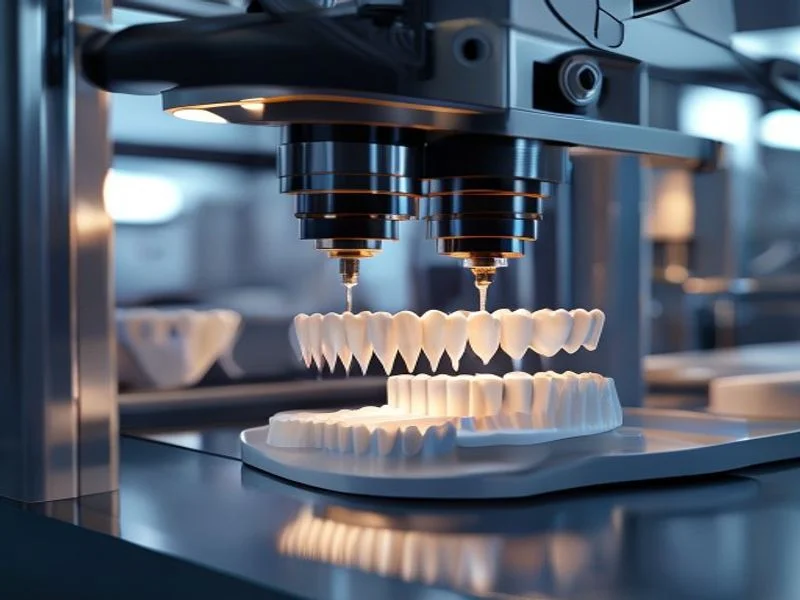
Manufacturing specific dental accessories like custom impression trays or implant surgical guides is crucial for modern dentistry.
intro
Requirements and Technologies
These parts require biocompatibility (especially for surgical guides) and strength. SLA and DLP systems provide the necessary precision.
Pros and Cons
- Pros:
- Complete customization
- Significantly higher patient comfort
- Increased success rate in implantology
- Cons:
- Requires specialized design software
- Materials are more expensive
Production Process
- Day 1: Taking an initial impression or scan.
- Day 2: Designing the custom tray or guide.
- Day 3: Printing and sterilization (if needed).
- Day 4: Clinical application on the patient.
Cost Breakdown
- Design Software: 2000
- Biocompatible Resin: 1200
- Equipment: 4000
- Total: 7200
Frequently Asked Questions (FAQ)
Q:
Can these accessories be sterilized?
A:
Yes, specific Surgical Guide resins can withstand autoclaving.
Q:
What is the advantage of a custom tray?
A:
It ensures a much more accurate final impression and saves impression material.
Q:
Is printing a guide expensive?
A:
The material itself costs just a few dollars; the true value comes from the design and expertise.
Interactive Analyzer for 3D Printing Of Dental Accessories
Select a profile to view detailed analysis.
Strength / Durability
49%
Print Speed
62%
The full picture
This article is one page from The Big Book of 3D Printing: 704 illustrated pages covering every technology, material and fix in one reference.
Read it on Kindle →Engineer, author of The Big Book of 3D Printing and additive manufacturing expert