

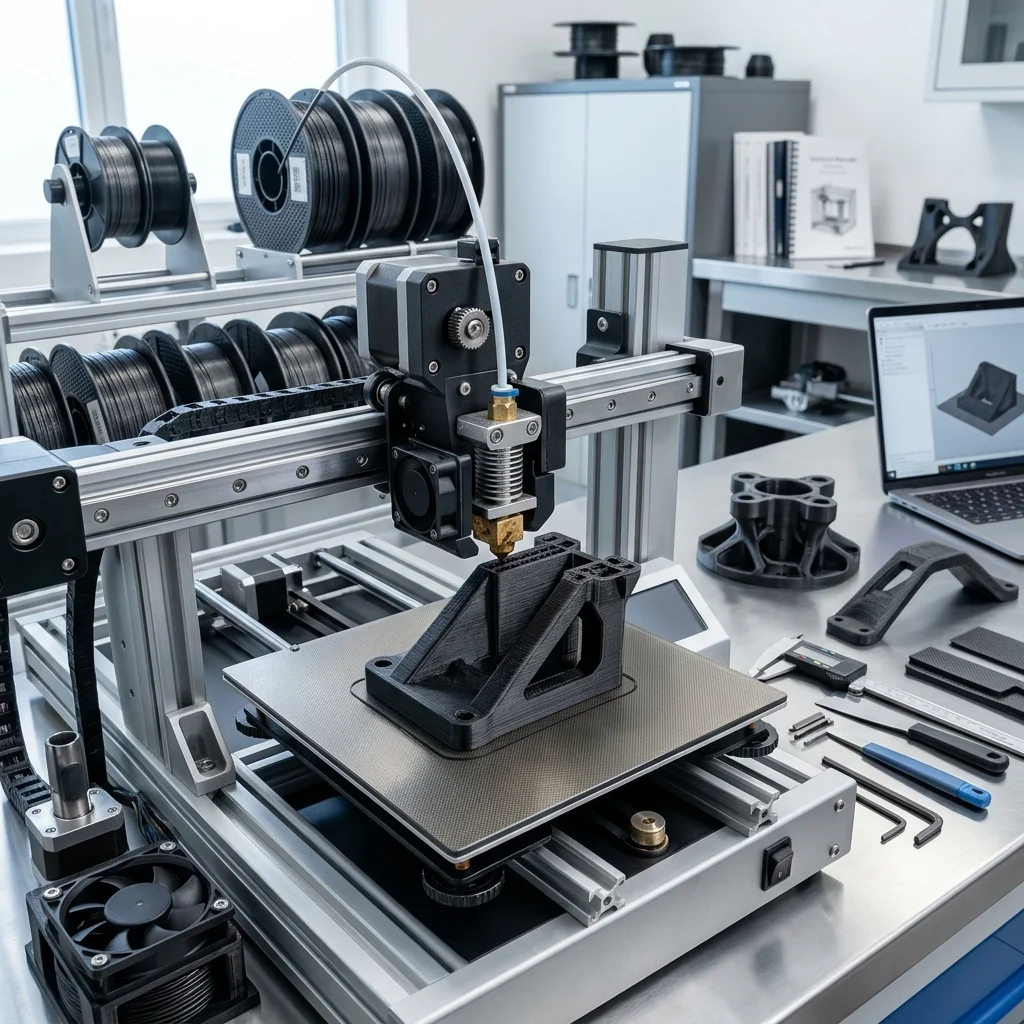
Industrial-grade 3D printing is no longer a mirage reserved only for laboratories with million-dollar budgets. With the advent of Carbon Fiber (CF) reinforced composite filaments, we can now manufacture parts with exceptional structural rigidity, stiffness, and heat resistance right on our desktop printers.
At EduFacturing, we believe that hardware is merely a tool: the true power lies in the knowledge of how to orchestrate it. Carbon fiber filaments offer incredible mechanical properties, but they come with their own set of pitfalls. They are highly abrasive, require specific thermal management, and are unforgiving when it comes to material preparation. In this guide, we will explore the precise parameters, hardware modifications, and expert tricks needed to turn every CF print into a masterpiece.
1. What Exactly Are CF-Reinforced Filaments?
When we talk about filaments like CF-PLA, CF-PETG, or PA-CF (Nylon), we must understand their anatomy. They consist of a base polymer (the matrix) infused with microscopic chopped carbon fibers. These fibers typically make up 15% to 30% of the material's total weight. Their role isn't just to give the part a beautiful matte black finish: they drastically reduce thermal shrinkage (warping), increase stiffness along the X and Y axes, and boost overall temperature resistance.
However, it's crucial to note that these are 'chopped' fibers. While they significantly enhance rigidity and dimensional stability, they do not provide the same continuous tensile strength as Continuous Carbon Fiber (CFF) technologies found in specialized industrial machines.
2. Hardware Requirements: Surviving the Abrasion
The golden rule of CF materials: they are absolutely ruthless to brass. Printing even a single spool of carbon fiber filament through a standard brass nozzle will widen its bore so drastically that your extrusion quality will be completely destroyed.
Upgrading to a **Hardened Steel**, ruby-tipped, or diamond-coated nozzle is mandatory. Because steel has a lower thermal conductivity than brass, you will often need to bump up your printing temperature by 5°C to 10°C to compensate.
Furthermore, avoid 0.4 mm nozzles unless you are using a filament explicitly marketed with ultra-fine fibers. The industry standard for composite materials is a **0.6 mm nozzle**. The larger aperture prevents clogging caused by the physical bridging and accumulation of carbon fibers inside the nozzle.
3. Optimizing Slicer Settings for Flawless Prints
Since CF filament is essentially an augmented standard polymer, you should start with your slicer profile for the base material (e.g., standard PETG) and apply the following critical adjustments:
**Temperature:** Increase your hotend temperature by 10–15°C. Carbon fibers alter the melt viscosity, making the plastic thicker and more sluggish. A higher temperature facilitates better flow and significantly improves layer adhesion: the traditional weak point of CF printed parts.
**Print Speed:** Reduce your printing speed by 25-50%. The recommended range is usually between 40 and 80 mm/s for outer walls. Moving too fast can lead to under-extrusion and put excessive back-pressure on the extruder gears.
**Cooling Fan:** Dial down the part cooling fan. For CF-PETG, keep it under 30%, and for high-temp engineering materials like PA-CF (Nylon), turn it off completely. Rapid cooling destroys the microscopic bonds between layers, leading to brittle parts.
4. Moisture Control: The Invisible Enemy
Most high-performance CF materials, particularly PA-CF (Nylon-Carbon Fiber), are extremely hygroscopic. This means they will eagerly absorb moisture from the ambient air in a matter of hours.
When wet filament passes through a super-heated nozzle, the trapped water instantly boils into steam. This creates micro-explosions that leave ugly voids on the part's surface, cause severe stringing, and completely ruin the structural integrity of the model. You must actively dry your CF filaments before printing (e.g., at 70°C for 8-12 hours for Nylon) and print them directly from a sealed dry box equipped with active desiccant.
Conclusion
Printing with carbon fiber unlocks the ability to create functional, engineering-grade parts that can even replace machined aluminum components in certain applications. The investment in proper hardware and the time spent calibrating your slicer profiles will pay off exponentially through uncompromising part quality and strength. Remember: it is the knowledge applied to the hardware that transforms a machine from a hobbyist toy into an industrial tool.
The full picture
This article is one page from The Big Book of 3D Printing: 704 illustrated pages covering every technology, material and fix in one reference.
Read it on Kindle →Engineer, author of The Big Book of 3D Printing and additive manufacturing expert