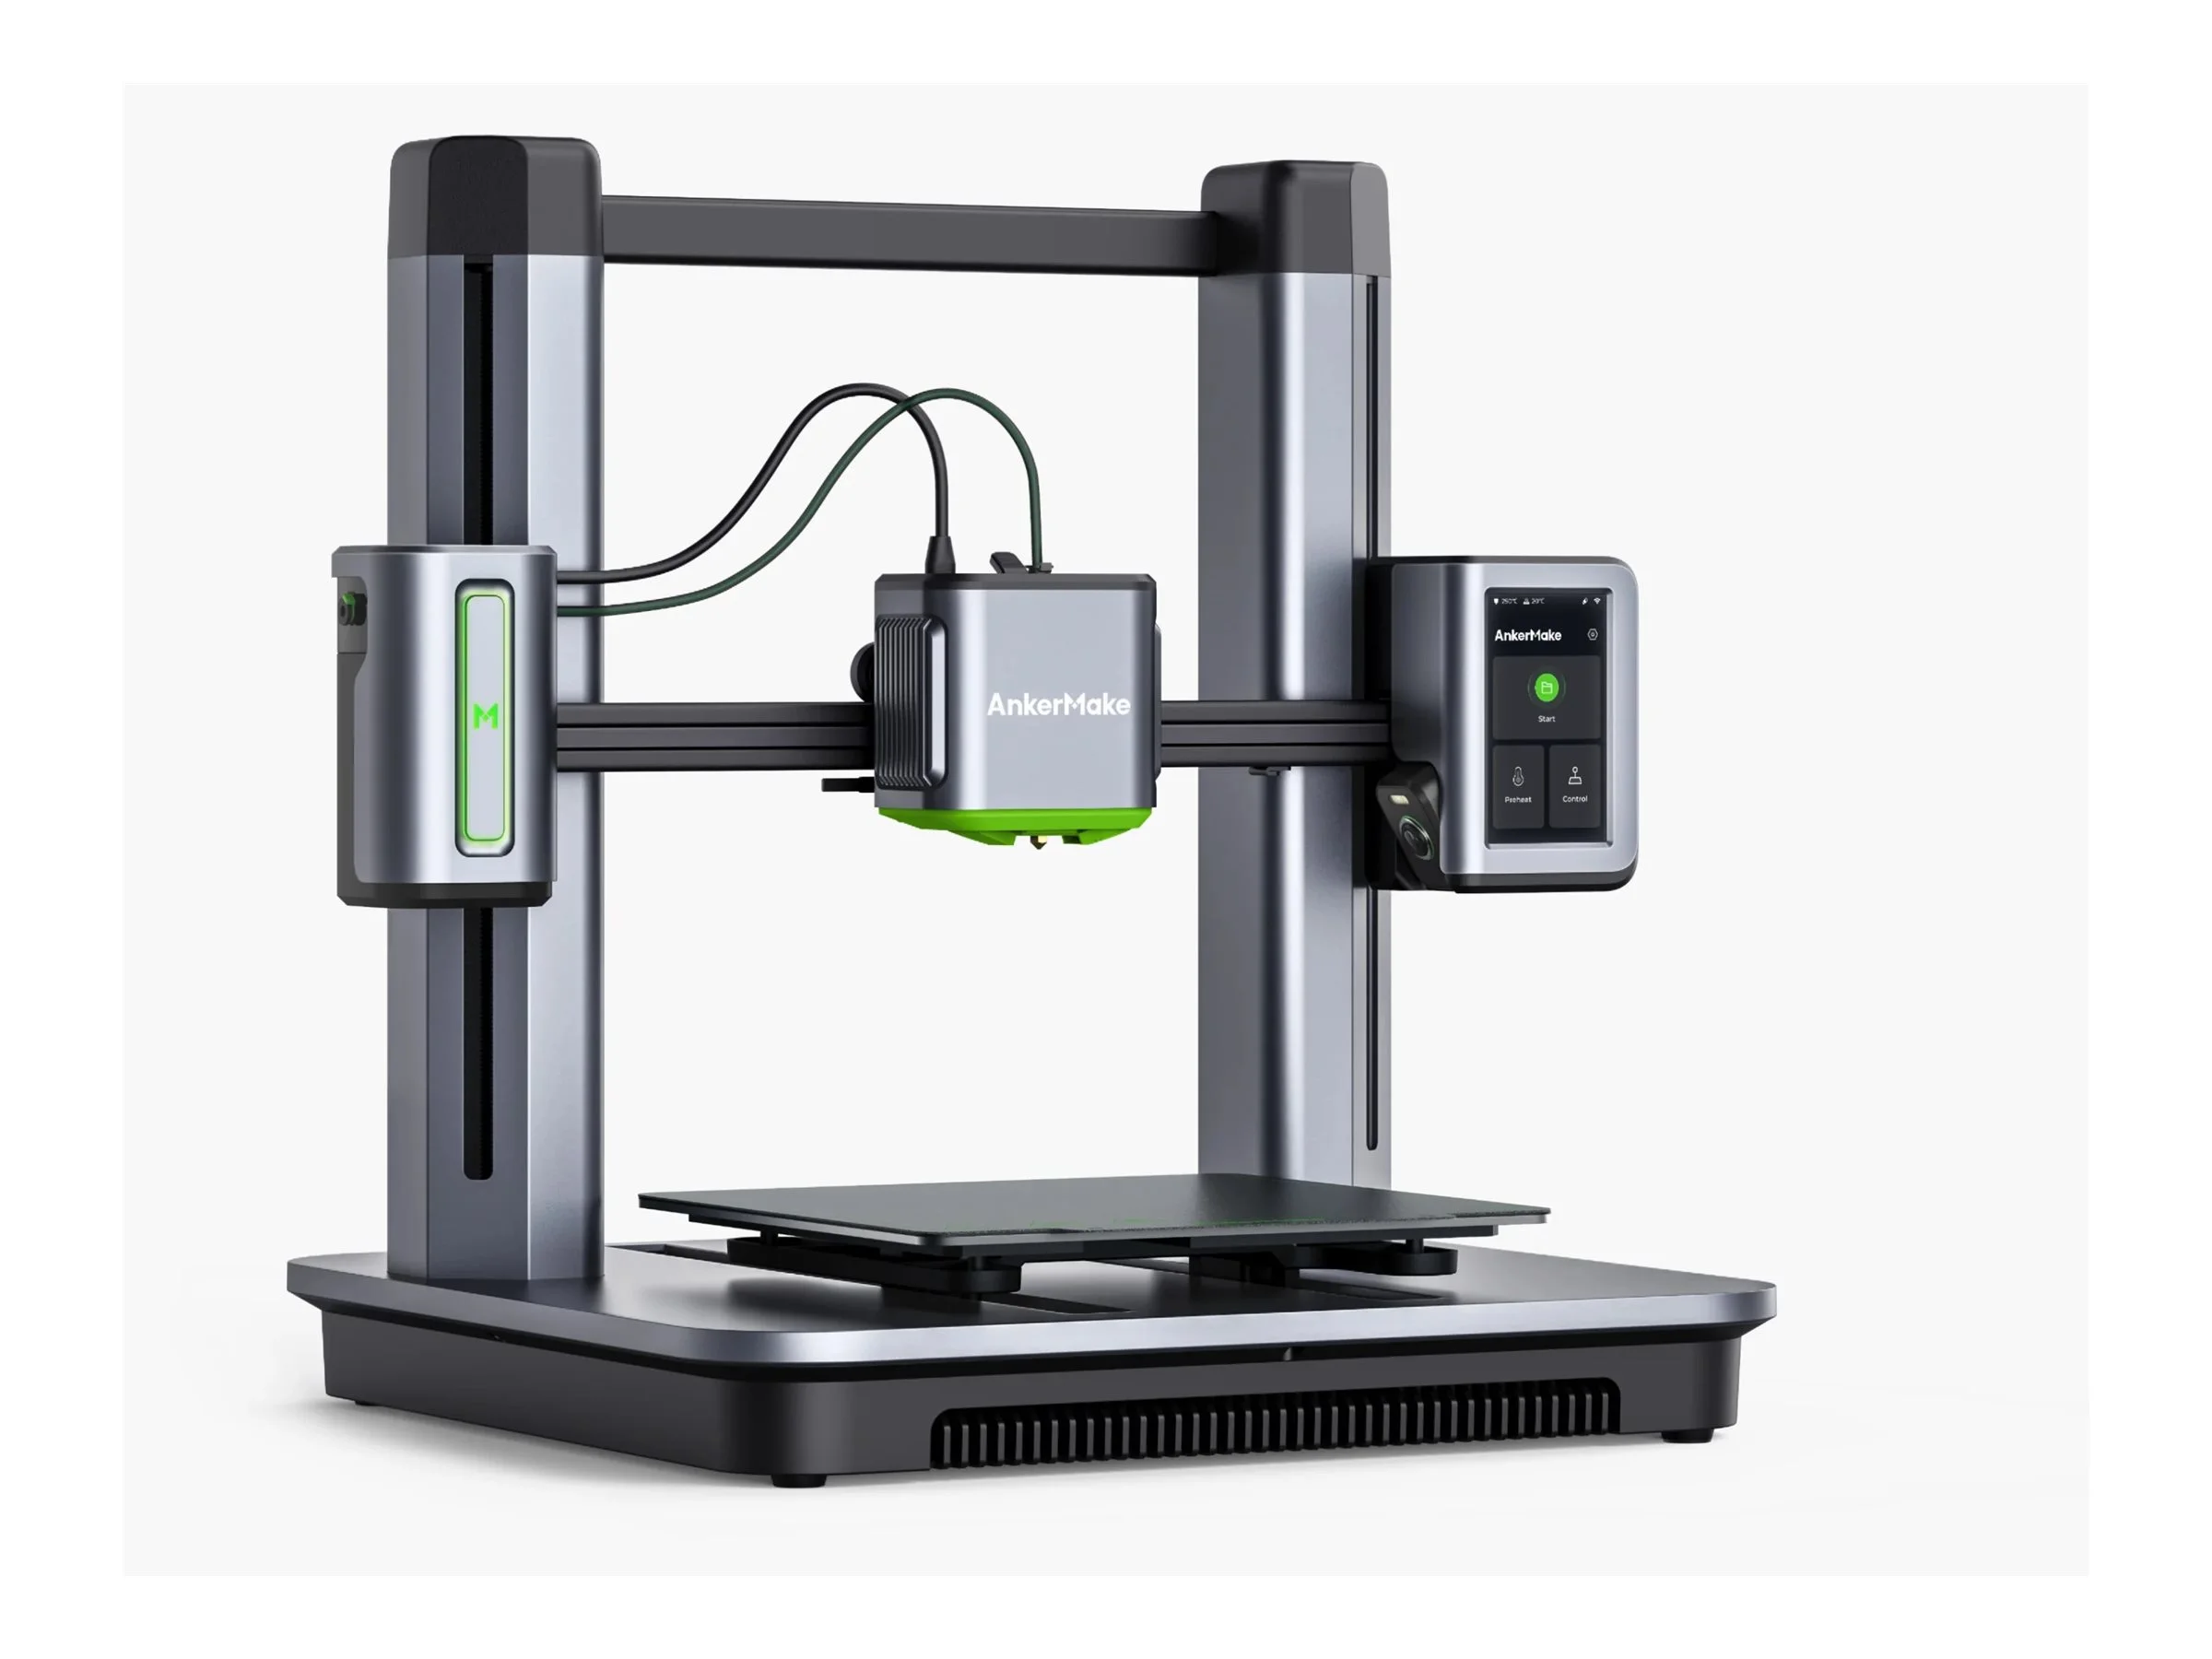
The AnkerMake M5 is an open-frame CoreXY FDM printer in the prosumer class, built with one primary goal: speed. With a 235×235×250 mm build volume, top speeds of 500 mm/s and the PowerLift mechanism for stable fast Z-axis movement, the M5 is the machine for anyone where print time is critical. An integrated AI camera for defect detection and smooth automatic calibration put it in the upper half of its price class.
What it is
The M5 is AnkerMake's flagship model, from a company known for quality consumer hardware that stepped into 3D printing. The machine is built around CoreXY kinematics with a reinforced Z-axis (PowerLift) and a direct-drive extruder, giving it precision even at aggressive speeds. The open frame makes it ideal for PLA, PETG and TPU, but limits work with materials sensitive to temperature swings. It targets designers, engineers and enthusiasts who run high volumes of prototypes and value fast results over broad material compatibility.
Technical specifications
| Technology | FDM (CoreXY, open frame) |
|---|---|
| Build volume | 235 × 235 × 250 mm |
| Maximum speed | up to 500 mm/s |
| Extruder | direct drive |
| Z-axis | PowerLift: dual-screw system for stability |
| Camera | built-in AI camera for defect detection |
| Calibration | automatic bed leveling |
| Class / Price | Prosumer · ~€699 |
Who it’s for
- Fast prototyping: rapid iteration of form, dimensions and ergonomics of new designs before serial production, with minimal wait time between versions (Industrial and product design)
- Jig and fixture manufacturing: production of assembly tools and jigs from PETG or ABS for manufacturing lines where accuracy and strength are key (Automotive and mechanical engineering)
- Educational and STEM projects: creating functional mechanisms and models directly in the classroom for hands-on learning of engineering principles, with a fast production cycle (Education)
Calibration step by step
- Clean the PEI plate with isopropyl alcohol (IPA). A clean, grease-free surface ensuring maximum first-layer adhesion.
- Run the automatic bed leveling (ABL) from the printer menu. An accurate compensation mesh across the surface, eliminating unevenness during printing.
- Fine-tune the Z-offset during the first layer. A consistently squished first layer: adequate adhesion without sideways spread (Elephant's foot).
- Calibrate the flow rate and extruder E-steps. Precise extrusion: real wall dimensions match what was set in the slicer.
Common defects and fixes
Recommended settings by material
Pick a material to see the recommended temperatures (empirical ranges from 561 OrcaSlicer/Bambu profiles) plus machine-specific tips:
Conclusion
The AnkerMake M5 is the right choice when speed is the priority and you work mainly with PLA, PETG and TPU. The PowerLift Z-axis and direct-drive extruder deliver stability and precision at 500 mm/s, while the AI camera adds a layer of reliability at no extra cost. The open frame is a deliberate trade-off: if you primarily run engineering materials, look at enclosed machines, but for high-volume fast work with standard polymers the M5 is hard to beat at this price point.
The full picture
This article is one page from The Big Book of 3D Printing: 704 illustrated pages covering every technology, material and fix in one reference.
Read it on Kindle →Engineer, author of The Big Book of 3D Printing and additive manufacturing expert
Updated on 11 September 2026
This article was written with AI assistance; the facts were checked against the sources on 11 September 2026.