

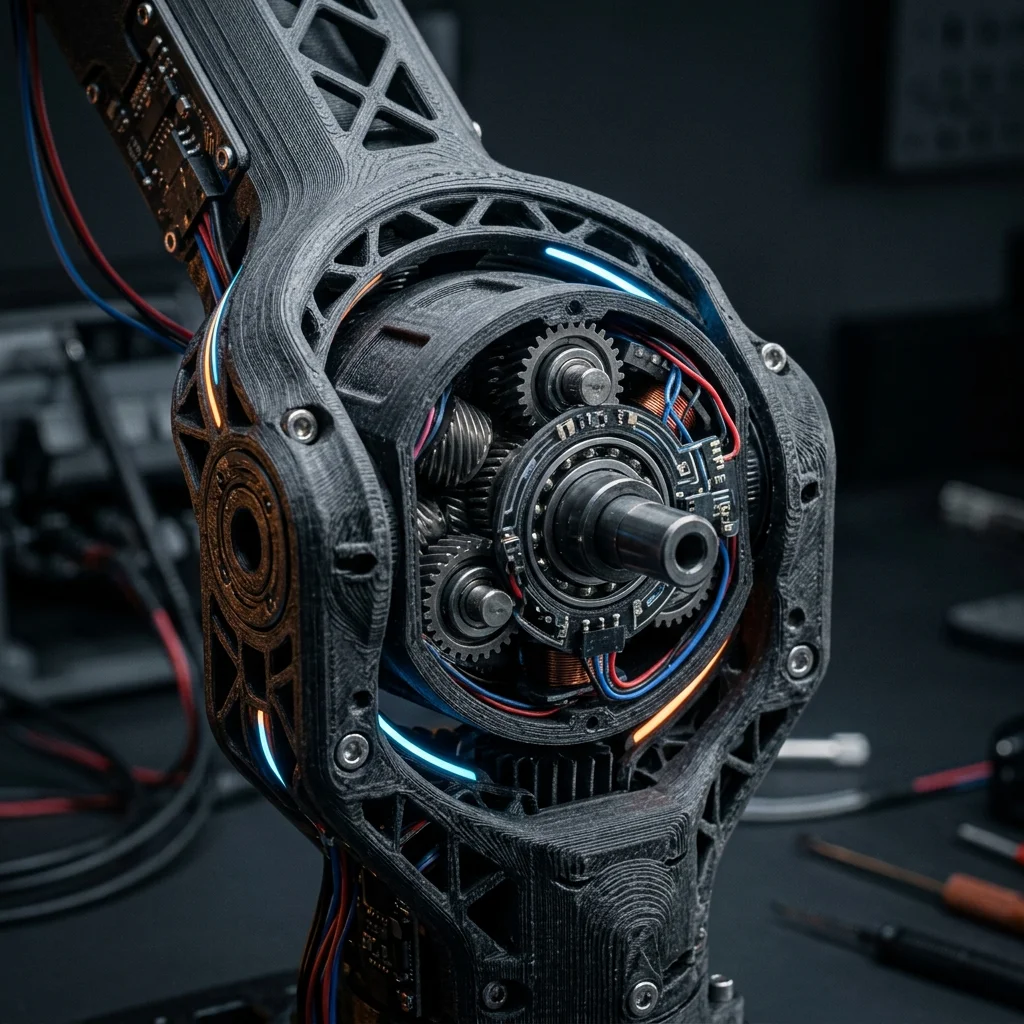
Additive manufacturing has unlocked unprecedented design freedom for robotic actuators, enabling lightweight, complex geometries that were impossible with traditional machining. This guide dives into the physics, material science, and production workflows that make 3D-printed actuators a strategic advantage for startups and established OEMs alike.
Technical Foundations of 3D-Printed Actuators
Modern actuators rely on precise motion conversion, torque density, and repeatability. By leveraging lattice infill, topology optimization, and multi‑axis printing, designers can embed compliant mechanisms directly into the actuator housing, reducing part count and assembly tolerance stack‑up. Advanced slicer algorithms calculate stress‑aligned fiber orientation for continuous‑carbon composites, yielding specific strengths comparable to aerospace‑grade aluminum while cutting weight by up to 60%.
Material Choices and Performance Metrics
Polyamide‑12 (PA12) with carbon fiber reinforcement offers a balanced modulus (3‑4 GPa) and impact resistance, ideal for mid‑range servos. For high‑temperature environments, PEEK printed via high‑temp extrusion maintains dimensional stability up to 250 °C, supporting aerospace thermal cycles. Metal‑bound photopolymers, such as stainless‑steel DMLS, deliver 200 MPa yield strength for load‑bearing linear actuators, while maintaining a surface finish that reduces friction without secondary machining.
Innovative Applications Across Industries
In medicine, patient‑specific prosthetic fingers are printed with compliant joints that mimic tendon elasticity, shortening rehabilitation time by 30%. Robotic exoskeletons for manufacturing use lattice‑structured actuators that integrate embedded sensors for real‑time torque feedback, improving worker safety. Aerospace firms are prototyping morphing wing flaps where 3D‑printed shape‑memory alloy actuators enable on‑the‑fly aerodynamic tuning, reducing fuel consumption by an estimated 2‑3% per flight.
Pros/Cons
Pros/Cons:
- Pros: rapid design iteration, weight reduction, integration of internal channels, lower inventory, on‑demand customization.
- Cons: anisotropic material properties, higher upfront equipment cost, post‑processing requirements, limited large‑scale build volume, certification complexity for safety‑critical systems.
Cost Breakdown
Material (PA12 carbon fiber): $120/kg x 2 kg = $240 Machine amortization (5‑year, 2000 h): $0.30/h x 40 h = $12 Post‑processing (sanding, heat‑treatment): $8 per part x 5 = $40 Design & simulation software licenses: $500 per project Labor (setup & QA): $25/h x 8 h = $200 Total:
Implementation Timeline & Steps
Step 1: Requirement gathering and performance specification (1‑2 weeks). Step 2: CAD modeling with topology optimization and material selection (2‑3 weeks). Step 3: Finite‑element analysis and multi‑physics simulation (1 week). Step 4: Print trial run, post‑process, and functional testing (2 weeks). Step 5: Iterate design based on test data, finalize production file (1 week). Step 6: Scale‑up production batch and quality certification (3‑4 weeks).
Business ROI and Future Outlook
A typical 3D‑printed actuator reduces part count from 8 to 2, cutting assembly labor by 70% and decreasing BOM cost by roughly $150 per unit. For a production run of 5,000 units, the net savings can exceed $750,000, delivering a payback period under 12 months. As material libraries expand and certification frameworks mature, adoption curves are projected to double annually, positioning early adopters as market leaders in smart robotics solutions.
Frequently Asked Questions (FAQ)
The Definitive Guide To 3D-Printed Robotics Actuators Calculator
Interactive optimization calculator.
The full picture
This article is one page from The Big Book of 3D Printing: 704 illustrated pages covering every technology, material and fix in one reference.
Read it on Kindle →Engineer, author of The Big Book of 3D Printing and additive manufacturing expert