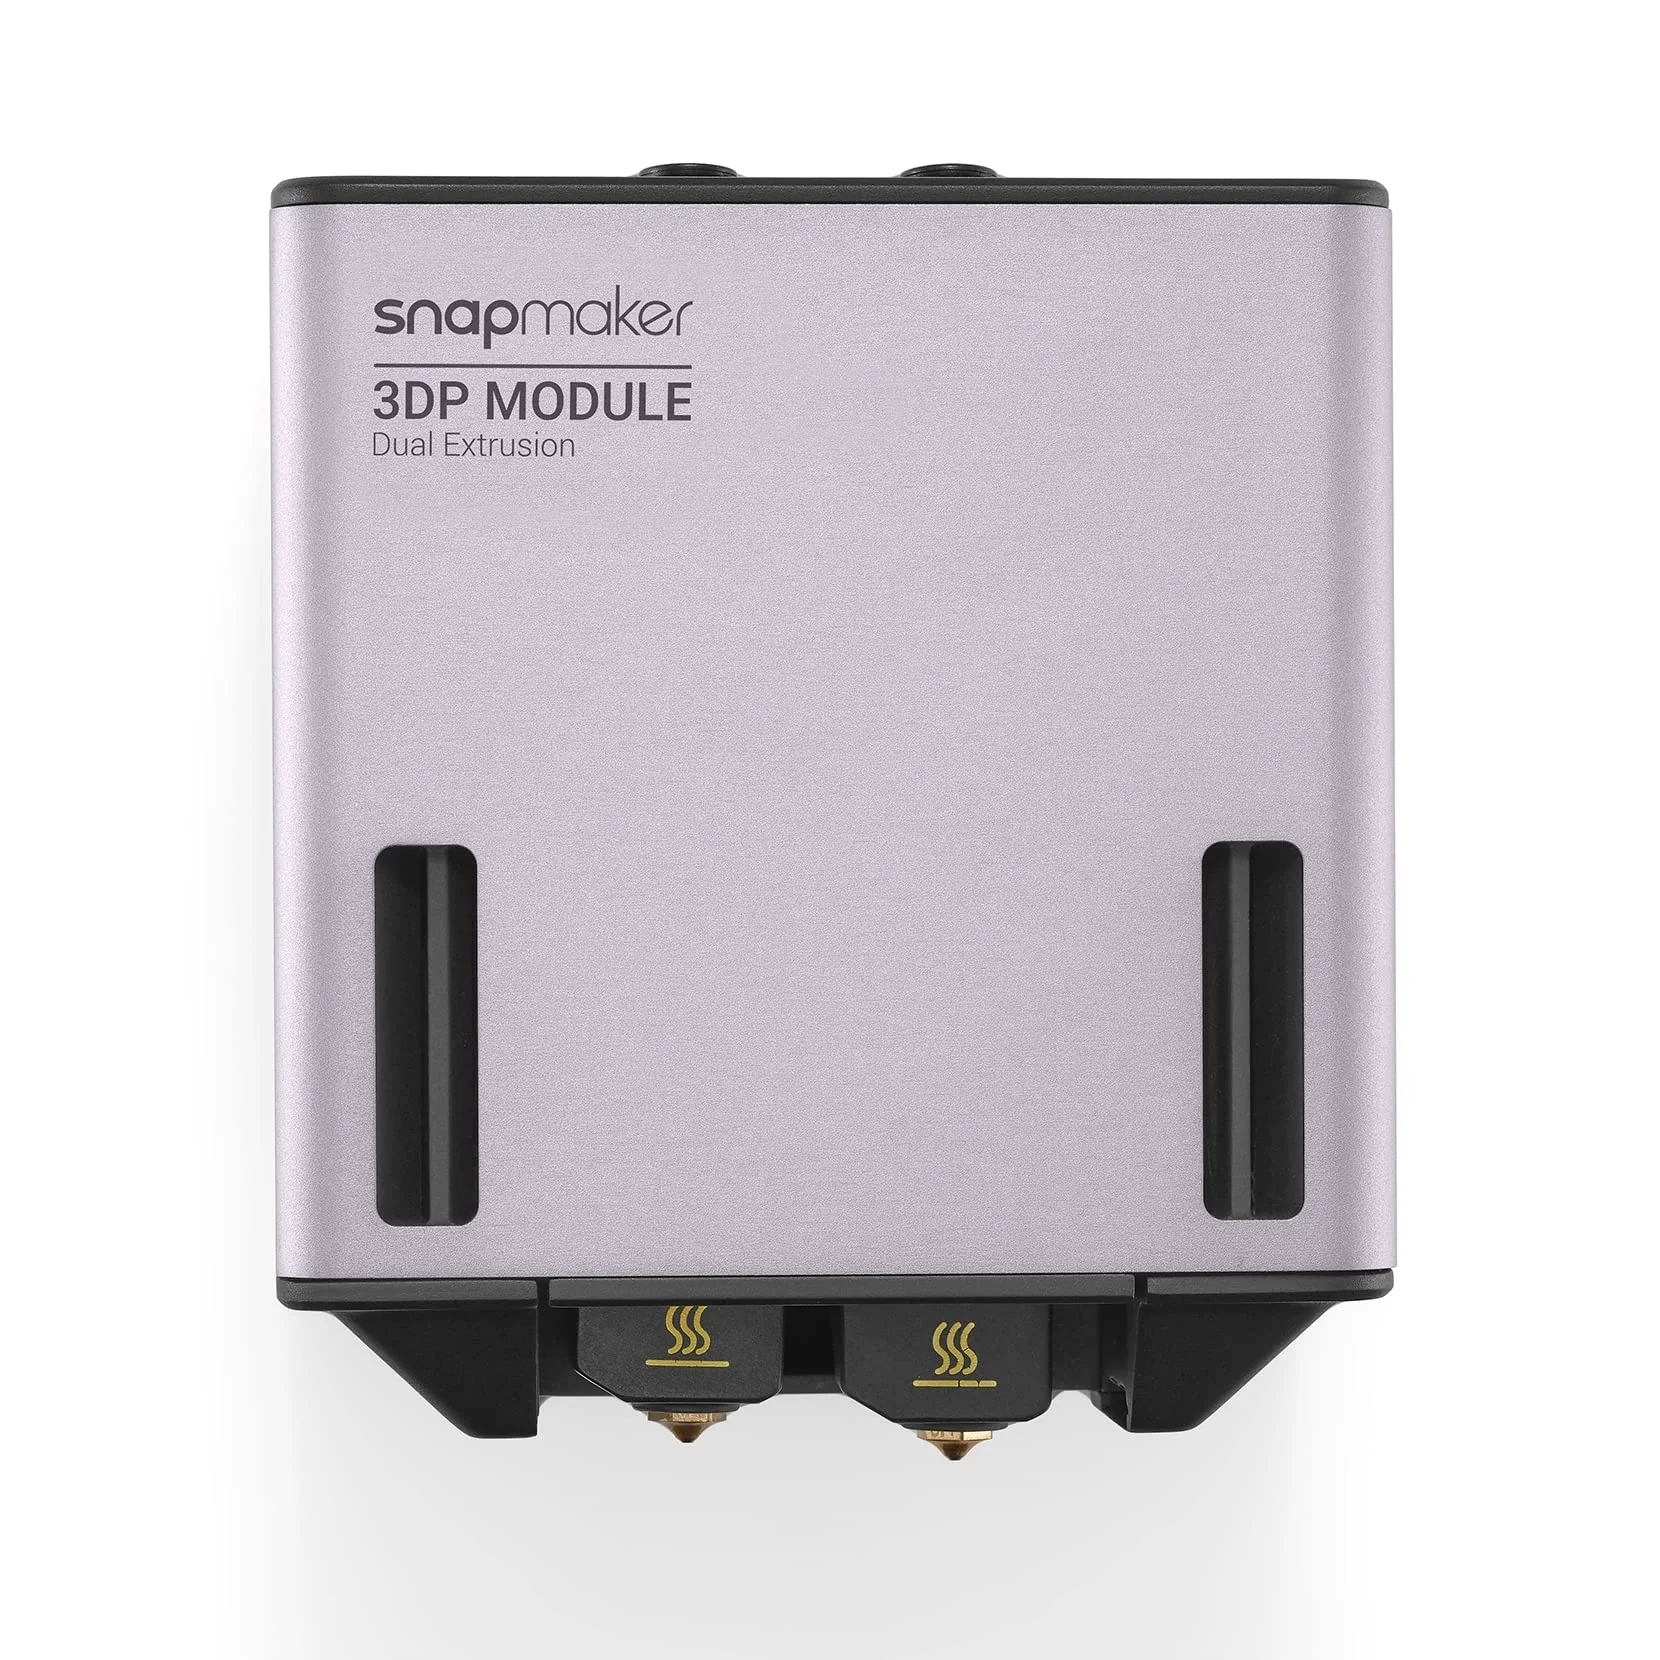
The Snapmaker 2.0 A350 is a modular prosumer manufacturing platform that combines FDM 3D printing, laser engraving and CNC milling in a single machine with a 320×350×330 mm build volume. Instead of buying three separate devices, you swap the module and keep working: that versatility is exactly what makes it a preferred choice for workshops, educational labs and makers with limited floor space.
What it is
The A350 is the largest machine in the Snapmaker 2.0 line, built around linear modules with dual guide rails and a central controller with a color touchscreen. The open-frame design suits PLA and PETG in ambient conditions, while the optional Enclosure (sold separately) turns the machine into a practical platform for ABS as well. The A350's size pays off when printing large functional parts, full-length prototypes and educational models: everything for which smaller build volumes simply fall short.
Technical specifications
| Technology | FDM (Cartesian, open-frame: optional Enclosure) |
|---|---|
| Build volume | 320 × 350 × 330 mm |
| Modularity | 3-in-1: FDM / Laser engraving / CNC milling |
| Nozzle | standard brass (included); for carbon/CF: upgrade to hardened nozzle |
| Calibration | manual + automatic compensation (11-point mesh) |
| Class / Price | Prosumer · ~€1300 (Enclosure sold separately) |
Who it’s for
- Large-format rapid prototyping (Physical objects to verify form, dimensions and ergonomics) the 320×350×330 mm build volume allows full-size parts without splitting the model. (Industrial design and Engineering)
- Functional tooling (Jigs & Fixtures): Custom assembly tools, guides and fixtures from PETG, ABS or CF polymers that withstand mechanical loads. (Automotive and manufacturing industry)
- Educational models and STEM projects (Educational models, robotic components and concept projects in PLA) the three modules (FDM, laser, CNC) make the A350 a complete lab in one. (Education and Science)
Calibration step by step
- Level the heated bed using the automatic 11-point mesh from the touchscreen, then clean the surface with isopropyl alcohol (IPA). The build surface is parallel to the nozzle travel plane, and the surface is oil-free for optimal adhesion.
- Fine-tune the Z-offset during first-layer printing: adjust live from the touch controller. The filament bead is slightly squished against the bed with no excessive spread (Elephant's foot) or lifting.
- Calibrate extruder E-steps (M92 command) after initial assembly or module swap. The extruder delivers the exact amount of material: no under-extrusion or over-extrusion.
Common defects and fixes
Recommended settings by material
Pick a material to see the recommended temperatures (empirical ranges from 561 OrcaSlicer/Bambu profiles) plus machine-specific tips:
Conclusion
The Snapmaker 2.0 A350 is the right choice for those who need more than a single-purpose machine. Its three-in-one modularity (FDM, laser, CNC) and large build volume make it unique in the prosumer class, without sacrificing print quality. The open frame demands a bit more attention for ABS, but the optional Enclosure closes that gap. If your workshop is growing and you want more than just a 3D printer, the A350 is an investment that will keep paying off.
The full picture
This article is one page from The Big Book of 3D Printing: 704 illustrated pages covering every technology, material and fix in one reference.
Read it on Kindle →Engineer, author of The Big Book of 3D Printing and additive manufacturing expert
Updated on 11 September 2026
This article was written with AI assistance; the facts were checked against the sources on 11 September 2026.