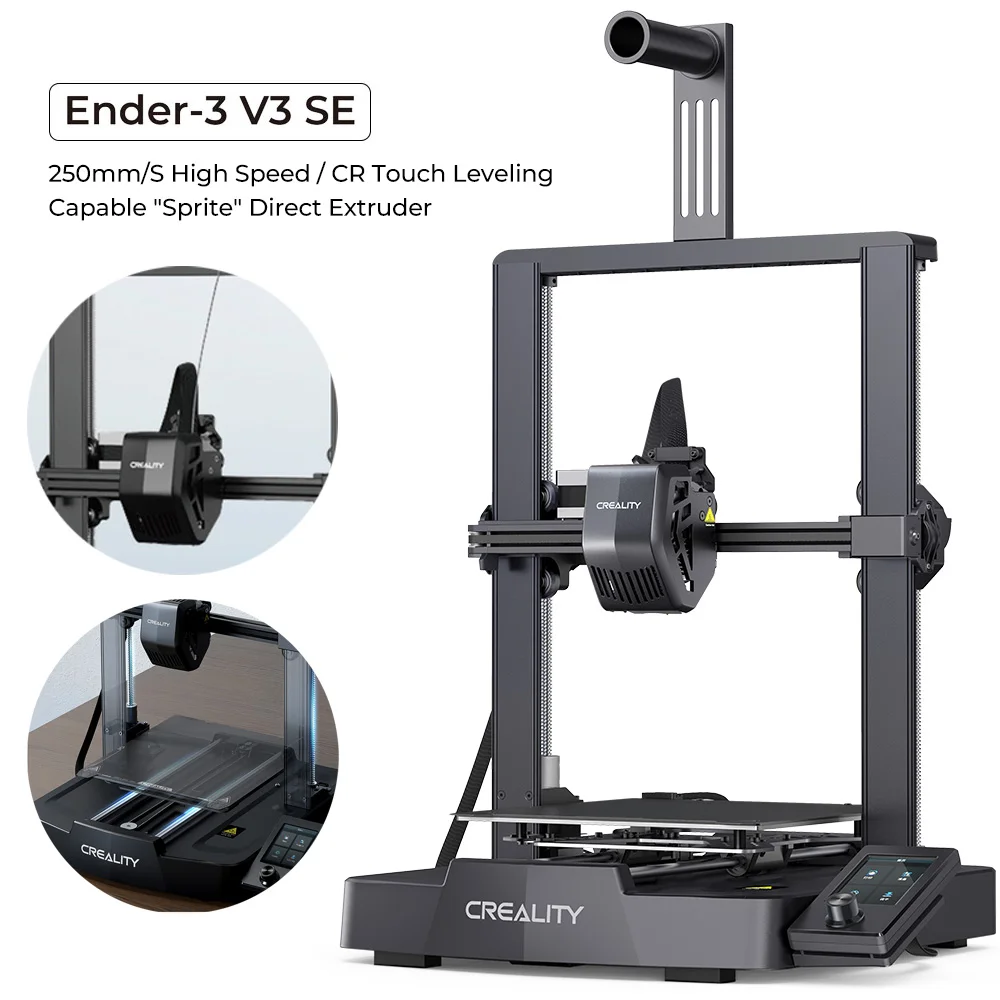
The Creality Ender-3 V3 SE is an open-frame bedslinger FDM printer in the budget class, built to put 3D printing within reach of every beginner. With a 220×220×250 mm build volume, automatic leveling via CR Touch, speeds up to 250 mm/s and assembly in under 20 minutes, it is arguably the best entry point for a first printer.
What it is
The Ender-3 V3 SE is an evolution of the legendary Ender-3 line: an open frame with direct-drive extrusion, a PEI spring-steel plate and a CR Touch sensor for automatic bed-leveling compensation. The machine targets students, hobbyists and small workshops just entering 3D printing who want an easy start without sacrificing print quality. It excels with PLA, PETG and TPU; ABS is achievable with an added enclosure. The open design keeps maintenance and upgrades straightforward and inexpensive.
Technical specifications
| Technology | FDM (Bedslinger, open frame) |
|---|---|
| Build volume | 220 × 220 × 250 mm |
| Maximum speed | up to 250 mm/s |
| Extruder | direct drive (Sprite) |
| Calibration | automatic: CR Touch (25-point mesh) |
| Build plate | PEI spring-steel |
| Class / Price | Budget · ~€190 |
Who it’s for
- Rapid Prototyping: checking form, fit and ergonomics in hours instead of days (Product Design)
- Jigs and Fixtures: creating manufacturing templates and holding fixtures for low-volume production (Automotive and Manufacturing)
- STEM Education: teaching students the principles of 3D printing from idea to physical object (Education)
Calibration step by step
- Clean the PEI plate with isopropyl alcohol (IPA). A degreased surface ensures maximum first-layer adhesion.
- Run the automatic CR Touch bed leveling (25-point mesh). An even nozzle-to-bed distance across the entire print area.
- Fine-tune the Z-offset while printing the first layer. The first layer is properly squished, with no elephant's foot and no detachment.
- Calibrate extruder steps (E-steps) via the M92 command. The extruder feeds the exact amount of filament: no under- or over-extrusion.
Common defects and fixes
Recommended settings by material
Pick a material to see the recommended temperatures (empirical ranges from 561 OrcaSlicer/Bambu profiles) plus machine-specific tips:
Conclusion
The Ender-3 V3 SE offers exceptional value for anyone taking their first steps in 3D printing. Automatic leveling via CR Touch, a direct-drive extruder and a PEI spring plate remove most beginner obstacles. The machine is not built for engineering polymers or high-speed production, but for PLA, PETG and TPU projects at an accessible price, there is no better starting point.
The full picture
This article is one page from The Big Book of 3D Printing: 704 illustrated pages covering every technology, material and fix in one reference.
Read it on Kindle →Engineer, author of The Big Book of 3D Printing and additive manufacturing expert
Updated on 11 September 2026
This article was written with AI assistance; the facts were checked against the sources on 11 September 2026.