

The QIDI X-Smart 3 is a compact enclosed CoreXY printer at the entry level, designed to deliver reliability and a closed chamber for under €400. Its 175 × 180 × 170 mm build volume suits prototypes and learning projects, while the rigid frame and automatic bed leveling make the machine a solid choice for beginners and enthusiasts who want to print ABS and ASA without building a separate enclosure.
What it is
The X-Smart 3 is the third generation of QIDI's compact enclosed lineup. CoreXY kinematics provide faster and more precise motion than a classic Cartesian design, while the factory-built enclosure retains heat: a key requirement for successfully printing ABS, ASA and flexible TPU without warping. The machine targets users buying their first or second printer: accessible price, minimal manual tuning and coverage of the most common desktop materials. Unlike higher-end flagships, the X-Smart 3 has no AMS system or actively heated chamber: the goal is simplicity and reliability, not maximum capability.
Technical specifications
| Technology | FDM (CoreXY, enclosed chamber) |
|---|---|
| Build volume | 175 × 180 × 170 mm |
| Maximum speed | up to 500 mm/s |
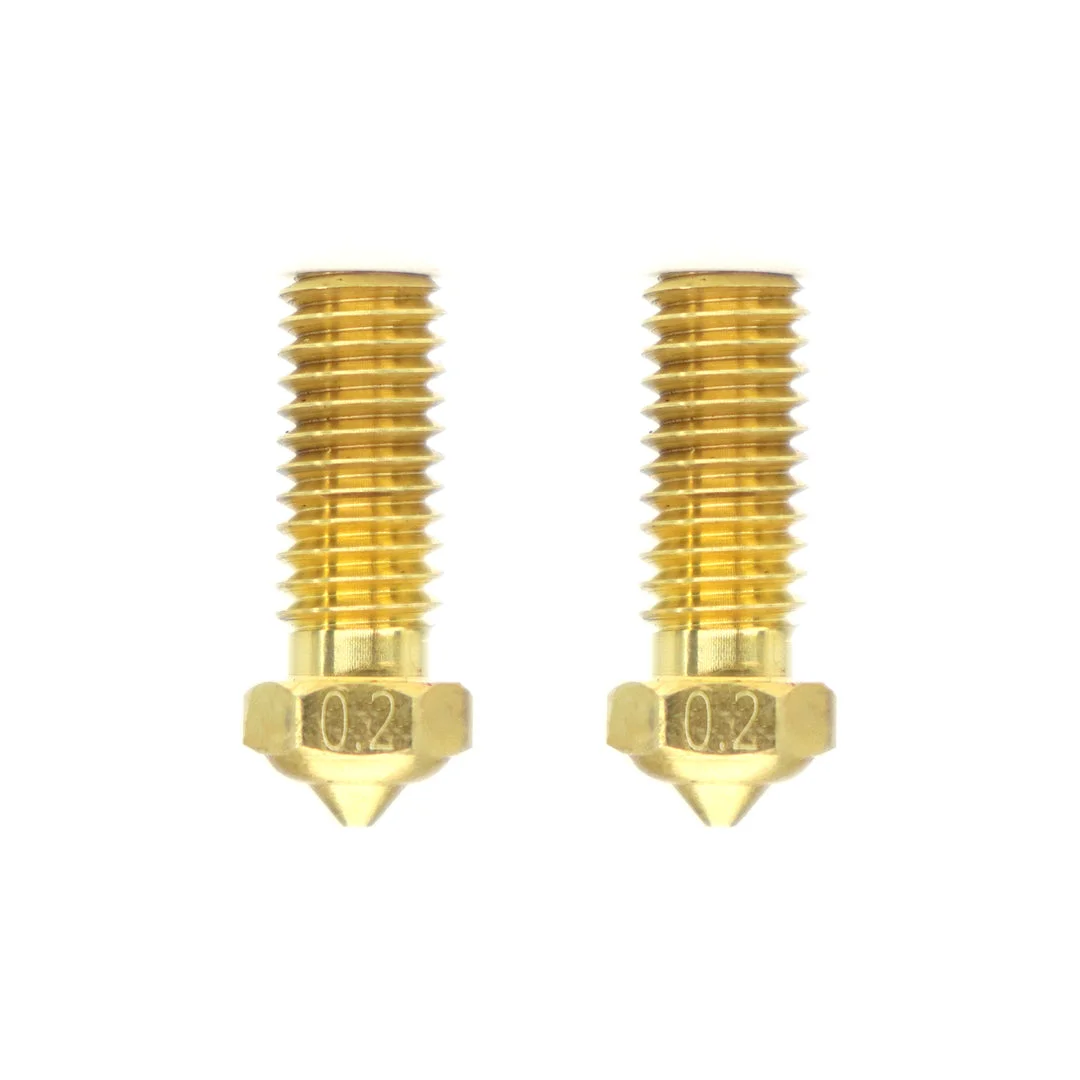
| Nozzle | standard brass (0.4 mm) |
| Calibration | automatic leveling + manual Z-offset |
| Multi-material | none (single extrusion) |
| Class / Price | Hobby · ~€399 |
Who it’s for
- Rapid Prototyping: quickly manufacturing physical models to verify form, fit-check and ergonomics within hours, before committing to a final design (Product Design and Engineering)
- Jigs and Fixtures: producing customized low-volume manufacturing aids and tools from durable polymers such as ABS or ASA (Automotive and Manufacturing)
- Functional End-Use Parts: printing ready-to-use components that require heat resistance and mechanical strength, enabled by the enclosed chamber (Consumer Electronics and Aerospace)
Calibration step by step
- Clean the build plate thoroughly with isopropyl alcohol (IPA). Oils and debris removed: maximum first-layer adhesion and prevention of print detachment.
- Run automatic bed leveling via the printer's menu. An equidistant, parallel gap between the nozzle and the build surface across all X/Y coordinates.
- Fine-tune the Z-offset during first layer extrusion. A perfectly squished first layer: avoids Elephant's foot (too close) and bed adhesion failure (too far).
- Calibrate extruder E-steps (M92) and material flow rate. Accurate dimensional tolerances and smooth surfaces without over-extrusion blobs or under-extrusion gaps.
Common defects and fixes
Recommended settings by material
Pick a material to see the recommended temperatures (empirical ranges from 561 OrcaSlicer/Bambu profiles) plus machine-specific tips:
Conclusion
The X-Smart 3 is a compact and accessible machine that delivers more than expected for its price: an enclosed chamber, CoreXY kinematics and support for ABS and ASA without any additional enclosure. For beginners and enthusiasts with limited desk space it is a reliable pick for PLA, PETG, TPU and basic engineering polymers. The small build volume and lack of an AMS place it clearly in the niche of a compact enclosed workhorse for daily use, with no pretensions of being a flagship.
The full picture
This article is one page from The Big Book of 3D Printing: 704 illustrated pages covering every technology, material and fix in one reference.
Read it on Kindle →Engineer, author of The Big Book of 3D Printing and additive manufacturing expert