

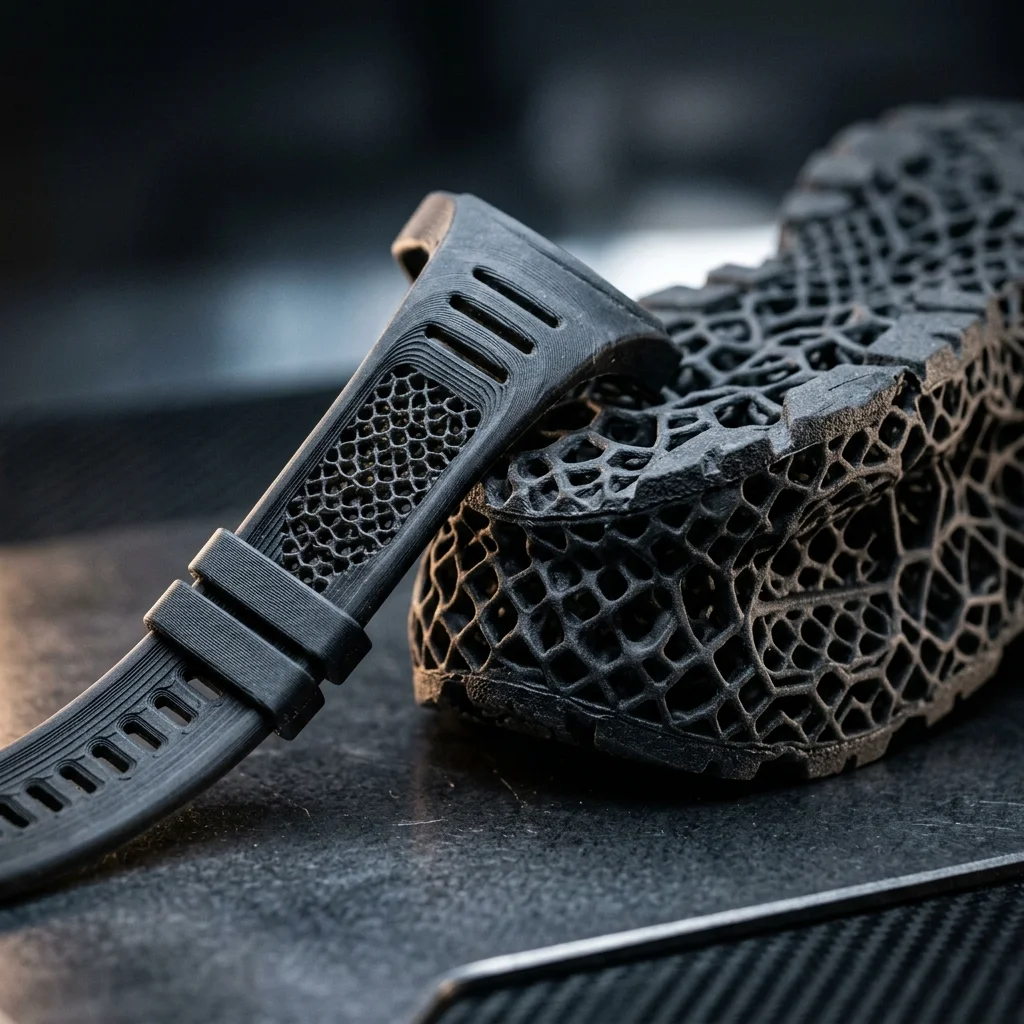
Discover how 3D printing is revolutionizing the creation of Fashion and jewelry functional prototypes. This technology allows for unprecedented design freedom, rapid prototyping, and optimization of manufacturing costs. In this guide, we will explore everything you need to know for successful implementation in your workflow.
Key Requirements and Challenges
When it comes to Fashion and jewelry functional prototypes, the industry imposes several critical requirements:
- High detail and geometric precision
- Smooth surfaces requiring minimal post-processing
- Dimensional accuracy and repeatable results
- Speed in generating design iterations
One of the main challenges is selecting the right combination of hardware and material to meet project-specific needs without exceeding the budget.
Recommended Technologies and Printers
For optimal results in Fashion and jewelry functional prototypes, technologies such as SLA (Stereolithography), MSLA (Masked SLA), and PolyJet are typically recommended for high-detail applications.
Pros:
- Exceptional resolution and attention to detail
- Smooth surface finish without extensive manual processing
- Ability to print highly complex organic and geometric shapes
Cons:
- Higher initial material cost for some technologies
- Need for specialized post-processing (isopropyl alcohol washing and UV curing)
- Brittleness of certain standard materials requiring careful handling
Recommended Materials
Material choice is critical to the success of Fashion and jewelry functional prototypes. Depending on the application, we recommend:
- Castable Resin: Ideal for creating molds, as it burns out cleanly with zero ash residue.
- Tough/Durable Resin: For parts requiring mechanical resistance and flexibility.
- Standard Resin: For visual prototypes where aesthetics outweigh strength.
Workflow and Process
Successfully creating Fashion and jewelry functional prototypes requires strict adherence to the following steps:
Step 1: 3D Modeling in CAD software and exporting to a suitable format (STL, OBJ, 3MF). Step 2: File preparation in slicer software (orientation, support generation, exposure settings). Step 3: 3D Printing with the chosen technology and material. Step 4: Post-processing, including support removal, washing, and UV curing. Step 5: Final finishing, painting, or utilization as a master pattern for casting.
Cost Breakdown
Implementing 3D printing for Fashion and jewelry functional prototypes requires an initial investment that is quickly recovered through saved time and materials.
Expected budget for implementation:
- Investment: 5000
- Training: 1000
- Total: 6000
Real-world Examples and Applications
Numerous innovative companies are already leveraging 3D printing for Fashion and jewelry functional prototypes. By digitizing the process, the time from concept to a physical prototype has been reduced from weeks to mere days. This allows for rapid iterations and perfect design refinement prior to mass production.
Frequently Asked Questions (FAQ)
Interactive Analyzer for 3D Printing For Fashion And Jewelry Functional Prototypes – Complete Guide
Select a profile to view detailed analysis.
The full picture
This article is one page from The Big Book of 3D Printing: 704 illustrated pages covering every technology, material and fix in one reference.
Read it on Kindle →Engineer, author of The Big Book of 3D Printing and additive manufacturing expert