

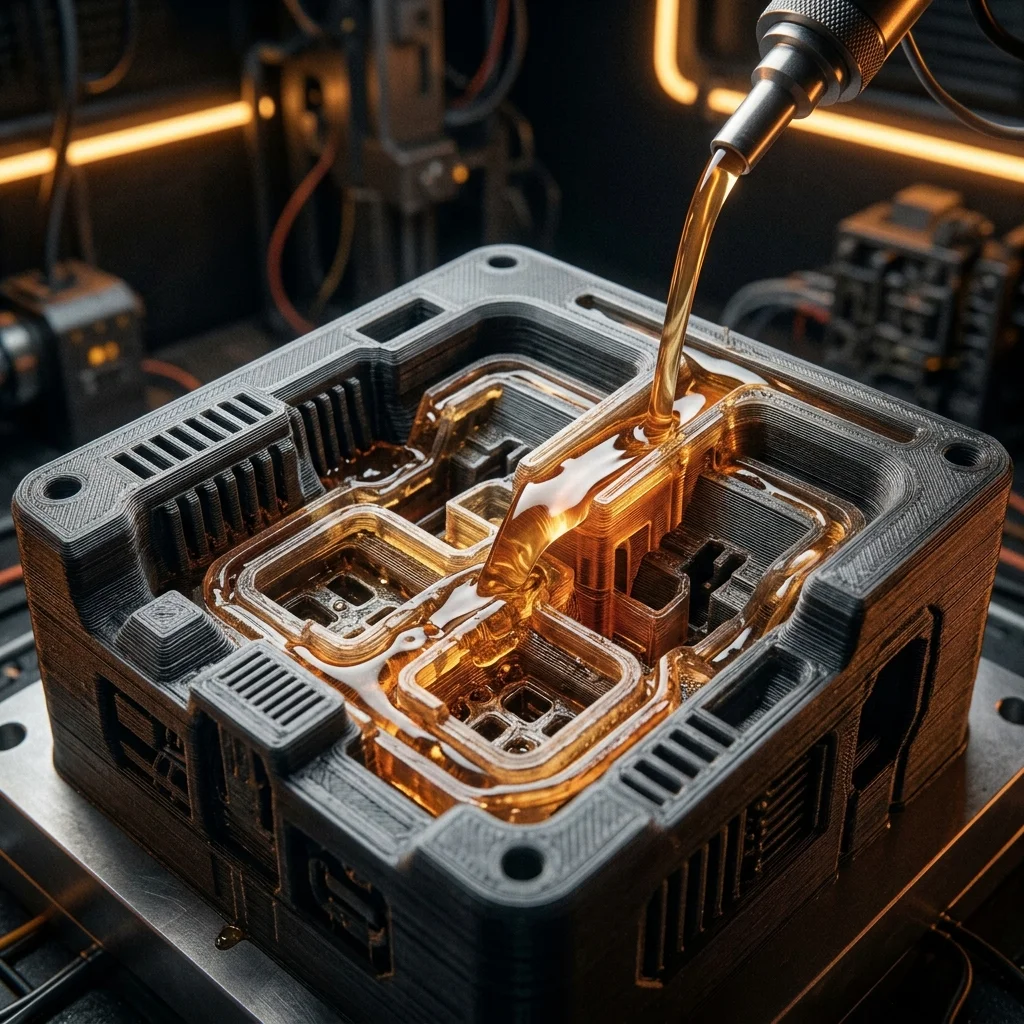
The use of 3D printing for mold creation is fundamentally changing how short runs and prototypes are manufactured. Instead of investing thousands of euros in conventional aluminum or steel molds created via CNC milling, you can now print a master pattern for silicone, a direct mold for injection molding, or a combustible pattern for investment casting in a matter of hours and at a fraction of the cost. This hybrid technique combines the speed of digital manufacturing with the traditional advantages of mass casting.
Core Methods for 3D Printed Casting
There are three primary approaches for integrating 3D printing into the casting workflow:
1. Master Patterns for Silicone Molds The most popular application among hobbyists and product designers. You print the part (master pattern), process its surface to perfect smoothness, and pour silicone over it. After the silicone cures, you remove the 3D printed part to get a silicone mold, into which you can pour polyurethane resins, soaps, candles, or concrete. This process is highly accessible and allows for the creation of runs of 20 to 50 identical parts.
2. Investment Casting (Lost-Wax Casting) Used primarily in jewelry and dentistry. You print the model using specialized castable resin. This model is then encased in an investment plaster and placed in a burnout furnace at high temperatures. The resin burns out completely without leaving ash, leaving a perfect cavity into which molten metal (gold, silver, brass) is poured.
3. Direct Molds for Injection Molding An industrial application where the mold is printed directly from a High Temp resin or durable polymer. While these molds cannot withstand thousands of cycles like metal ones, they are perfect for bridge manufacturing of 10 to 100 parts using actual industrial plastic.
Recommended Technologies and Printers
The choice of printer depends entirely on the type of molds you want to produce.
MSLA and SLA for Fine Details and Jewelry Resin printers are the absolute standard here due to the lack of visible layer lines and the ability to work with castable resins.
- For a budget start: Anycubic Photon Mono M5s or Elegoo Saturn 3 Ultra (€350–€450). They offer 12K resolution, which minimizes the need for post-polishing.
- For professionals and jewelers: Formlabs Form 3+ or Form 4 (€3500–€4500). The Formlabs ecosystem includes certified castable resins and automated wash & cure systems, which are critical for consistent results in precious metal casting.
FDM for Large Silicone Molds If you are making master patterns for casting concrete planters, automotive components, or large decorative elements, resin is too expensive and brittle. FDM printers like the Bambu Lab X1-Carbon (€1449) or Prusa MK4S (€999) are ideal. Their build volume allows for large parts, and using materials like PLA or PETG makes the process very cheap, although the models will need sanding, priming, or vapor smoothing (if using ABS/ASA) to eliminate layer lines.
Materials for Molds and Master Patterns
The quality of the final casting depends entirely on the material of the 3D printed model.
- Castable Resins: Formlabs Castable Wax 40 (€275/liter) or Siraya Tech Cast (€65/liter) contain real wax. They guarantee clean burnout in the furnace with no residual ash, which is critical for defect-free metal casting.
- High Temp Resins: Used for direct molds. They withstand temperatures over 230°C without deformation, making them suitable for injection molding of low-melting-point plastics.
- PLA and PVB: Standard PLA (€15-€20/kg) is great for silicone master patterns but requires filler and sanding. PVB (e.g., Polymaker PolySmooth) can be smoothed with isopropyl alcohol (IPA), completely eliminating layer lines without manual labor.
Cost Structure: 3D Printing vs. Conventional Methods
The biggest advantage of 3D printing in mold making is the drastic reduction in risk and initial investment for new products.
Let’s look at developing a consumer electronics enclosure (a short run of 50 units). Outsourcing an aluminum injection mold to a major machine shop can cost €3000–€6000 and take 4–6 weeks. If a design change is needed, you have to pay for a new mold.
With 3D printing:
- Printing a mold from High Temp resin: €30–€50 in material.
- Time: 12 hours.
- Mold lifespan: 20-50 cycles (perfectly sufficient for a pilot run).
For jewelers and miniature creators: printing a master pattern for a silicone mold costs pennies (literally €1-€3 in material). The silicone for the mold adds another €10-€20. The total investment to start your own small-scale production is under €50 per model, providing rapid ROI from the very first few sales.
Common Challenges (Cure Inhibition)
The biggest pitfall when working with 3D printed master patterns and silicone is called cure inhibition.
Most platinum-cure silicones refuse to cure when they come into contact with photopolymer UV resin. The sulfur and photoinitiators in the resin chemically block the silicone’s catalyst, leaving a sticky, liquid layer exactly where the details matter most.
How to solve it:
- Use tin-cure silicones, which are immune to this problem (though they have a shorter shelf life).
- If you must use platinum silicone, clean the printed model aggressively in an ultrasonic bath with IPA, let it degas in the sun for several days, or apply a specialized sealing spray (like InhibitX or a quality clear acrylic varnish).
Frequently Asked Questions (FAQ)
Interactive Analyzer for 3D Printing For Molds And Casting, Silicone, Metal, Composites
Select a profile to view detailed analysis.
The full picture
This article is one page from The Big Book of 3D Printing: 704 illustrated pages covering every technology, material and fix in one reference.
Read it on Kindle →Engineer, author of The Big Book of 3D Printing and additive manufacturing expert