

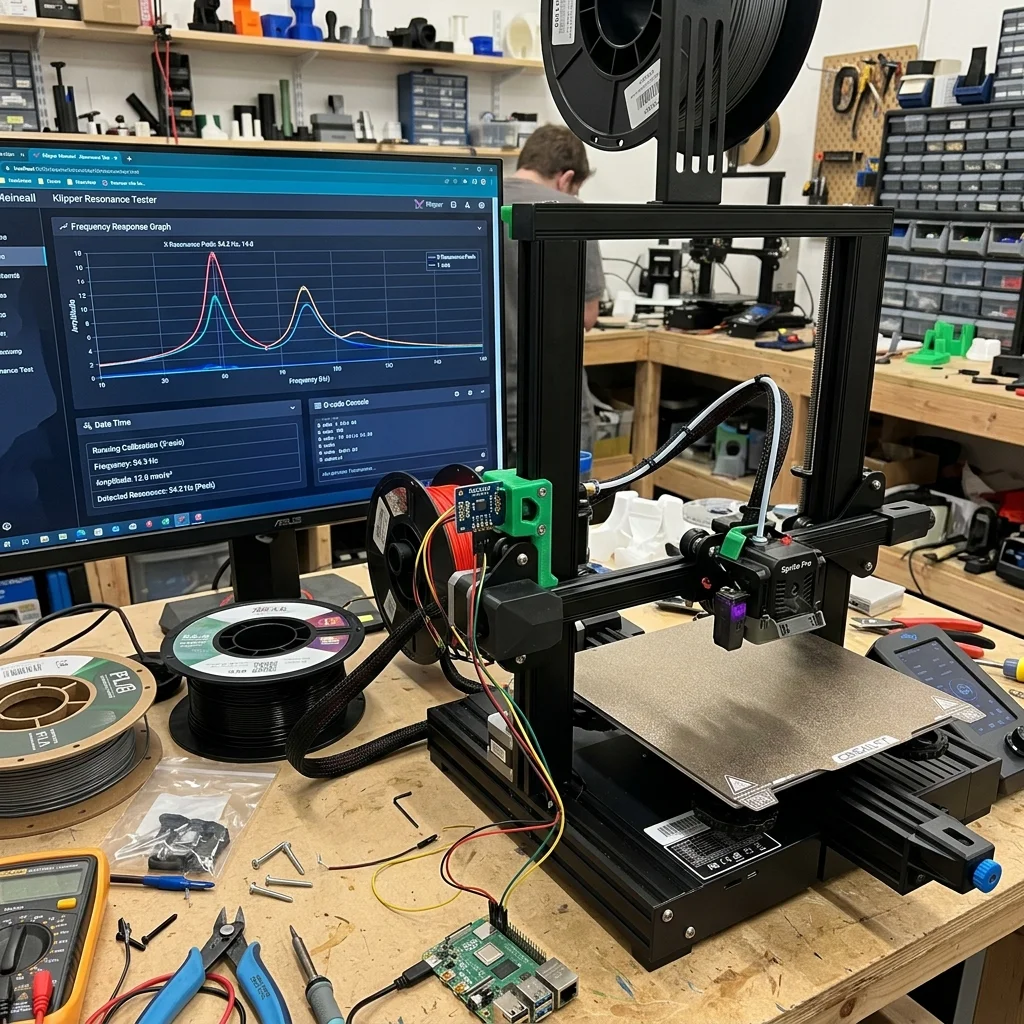
In 2025–2026, Klipper firmware’s Input Shaping implementation enables CoreXY and Cartesian printers to achieve accelerations of 10,000–20,000 mm/s² without ringing artifacts. This article focuses on practical setup and firmware architecture.
Klipper vs Marlin Architecture
| Aspect | Marlin | Klipper |
|---|---|---|
| Architecture | Monolithic (MCU) | Split (MCU + Host) |
| Compute | ATmega/STM32 | Raspberry Pi |
| Input Shaping | Basic | Full (ZV, MZV, EI, 2HUMP_EI) |
| Configuration | Compilation (C++) | Text file (printer.cfg) |
Interactive Filament Selector
Answer 3 quick questions and find the optimal material for your project.
1. What are the mechanical requirements for the part?
2. What temperature will the part operate at?
3. Are there any specific environmental requirements?
Our recommendation:
PLA filament
Ideal for easy printing, model visualization and decorative parts.
Practical Setup
- Mount accelerometer (ADXL345) on print head.
- Run
SHAPER_CALIBRATE: Klipper measures resonant frequencies automatically. - Apply settings in
printer.cfg.
Pressure Advance
Compensates hydraulic extrusion delay: increases feed on acceleration, decreases on deceleration.
Pros and Cons
Pros:
- Open Source: Free with active community.
- Powerful Processing: RPi enables complex algorithms.
- Remote Control: Built-in web interface (Mainsail/Fluidd).
Cons:
- Extra Hardware: Requires Raspberry Pi (~€50).
- Learning Curve: More complex than Marlin for beginners.
FAQ
Klipper Input Shaping: Practical Setup And Firmware Architecture Speed Simulator
Optimize speed vs quality.
The full picture
This article is one page from The Big Book of 3D Printing: 704 illustrated pages covering every technology, material and fix in one reference.
Read it on Kindle →Engineer, author of The Big Book of 3D Printing and additive manufacturing expert