

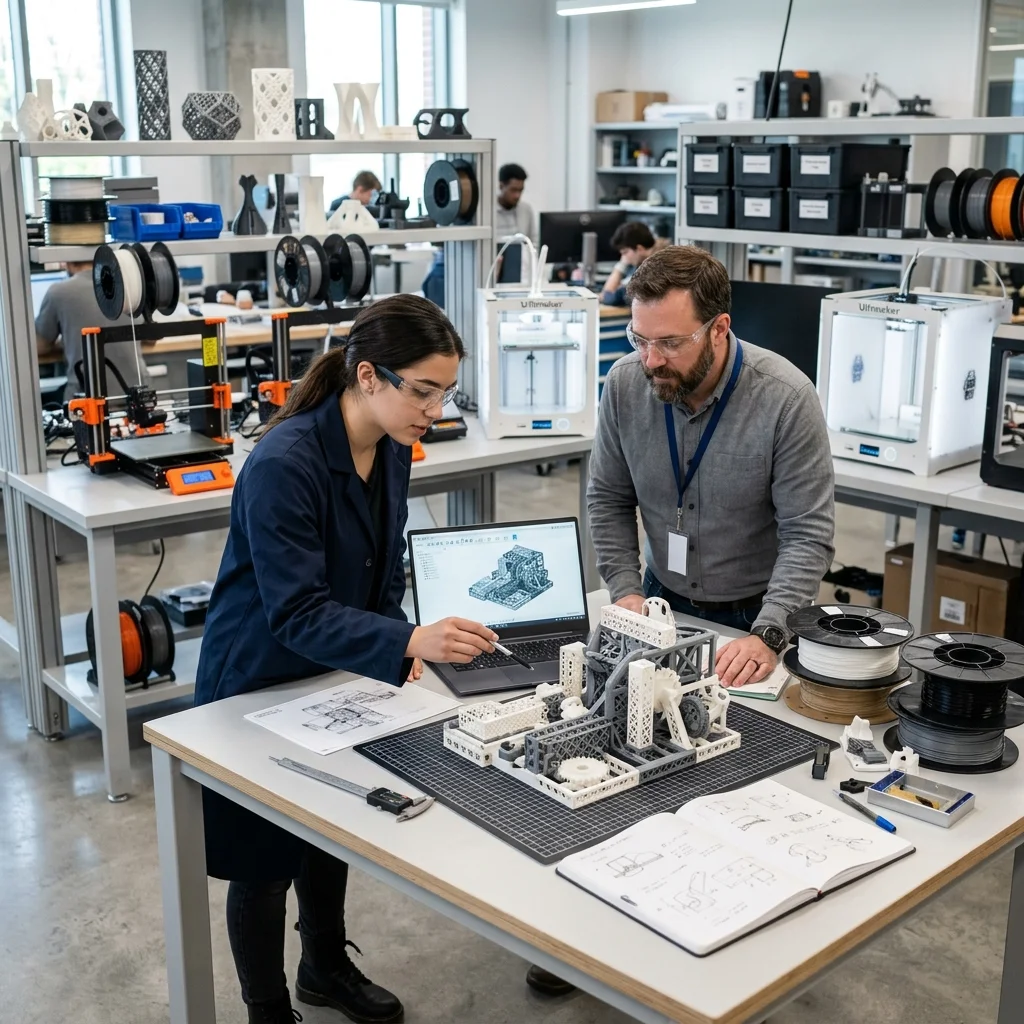
Many schools and academies make the same foundational mistake: they purchase a fleet of modern 3D printers, place them in a computer lab, and expect magic to happen spontaneously. The truth is, without a structured curriculum, these high-tech machines quickly devolve into plastic keychain factories and dust collectors. At EduFacturing, we believe that hardware is merely a tool. The real value comes from the "picks and shovels": the foundational knowledge that gives the technology purpose and meaning.
Developing a high-quality additive manufacturing (3D printing) curriculum requires far more than basic slicer instruction. It must encompass the entire engineering design process, from identifying a real-world problem and digital CAD modeling to physical prototyping and part optimization. In this article, we will explore step-by-step how to build a meaningful, Project-Based Learning (PBL) curriculum that truly prepares the next generation of engineers and visionaries.
1. Beyond Toys: STEM Integration and Real-World Problem Solving
The first step in curriculum development is divorcing the technology from the "printing for fun" mindset. The syllabus must be deeply integrated into existing STEM (Science, Technology, Engineering, Mathematics) disciplines. For example, in physics classes, students can design and print custom aerodynamic airfoils to test in a wind tunnel. In mathematics, abstract concepts like volume, surface area, and topology become tangible when calculating the exact filament length required for a complex model.
We champion Project-Based Learning (PBL) approaches. Rather than handing students pre-made STL files to print, we present them with engineering constraints. "Design a mechanism that converts rotational motion into linear motion, using no more than 50 grams of PLA, without any external fasteners." This type of challenge develops spatial reasoning, an understanding of mechanical tolerances (clearance vs. interference fits), and an appreciation for the technological limits of 3D printing (managing overhangs, bridging, and thermal shrinkage).
2. The Digital Design Journey: From Tinkercad to Fusion 360
A robust curriculum requires a clear progression of difficulty. We start with intuitive platforms like Tinkercad, where students master basic Boolean operations (adding and subtracting primitive geometric solids). This builds a fundamental understanding of operating within a 3D workspace and navigating the X, Y, and Z coordinate systems.
Once the foundation is set, the curriculum must transition to professional CAD software like Autodesk Fusion 360, Onshape, or SolidWorks. Here, the focus shifts to parametric modeling. Students learn how to create 2D sketches with precise dimensions and constraints, which are then extruded or revolved into 3D bodies. Critical engineering concepts are introduced, such as minimum wall thickness, chamfers, and fillets: essential features for reducing stress concentrations in 3D-printed parts. The ultimate goal is to ensure learners aren't just machine operators, but competent digital content creators.
3. Mastering Slicing Algorithms and Material Science
The next module must demystify the translation layer between the digital model and the physical object: the slicing software (e.g., PrusaSlicer, Ultimaker Cura). This is where pure geometry meets the physics of thermoplastics. Students need to understand the generation of G-code: the machine language that commands stepper motors and hotend heaters.
The curriculum should take a deep dive into print parameters. How do different infill patterns (e.g., Gyroid vs. Grid) affect a part's mechanical strength and impact resistance? Why is part orientation on the build plate critical due to the anisotropic nature of the FDM/FFF process (inherent weakness along the Z-axis)? Learners must be able to consciously manipulate parameters such as perimeters (shells), part cooling, and support structure generation to optimize both the manufacturing time and the structural integrity of their final product.
4. Supporting the Educators: The Real Bottleneck
The most sophisticated curriculum will fail if the educator lacks confidence. Teachers often fear technical hurdles: nozzle clogs, bed adhesion issues (warping), or hardware malfunctions. Therefore, a critical component of rolling out any 3D printing program is intensive professional development for the mentors themselves.
We do not want teachers to be mere gatekeepers of the printer; we want them to be technical facilitators. Their training must include basic diagnostics and maintenance: first-layer calibration (Z-offset dialing), cold pulls for extruder cleaning, and safe kinematic servicing. When a teacher deeply understands the process, they can turn every failed print from a frustration into a valuable lesson in defect analysis. This is the democratization of knowledge in action: giving mentors the exact tools they need to unlock their students' potential.
Conclusion
Developing a 3D printing education curriculum isn't just about adding a new subject to the timetable: it's about building an ecosystem for innovation. By combining rigorous CAD design, a deep understanding of additive manufacturing processes, and practical problem-solving, we aren't just teaching youth how to use a machine. We are providing them with the language of future manufacturing. At EduFacturing, we know that when you invest in the right foundational knowledge, the hardware starts working for you, fundamentally changing how you think, design, and create.
The full picture
This article is one page from The Big Book of 3D Printing: 704 illustrated pages covering every technology, material and fix in one reference.
Read it on Kindle →Engineer, author of The Big Book of 3D Printing and additive manufacturing expert